
When you breathe, your lungs fill up with air, much like a balloon. But balloons require air to be pushed or blown into them. Does air get blown into your lungs like a balloon, or is something else at work in your respiratory system?
The respiratory system consists of many different organs and muscles, including a muscle that sits below the lungs called the diaphragm. This muscle is what allows the lungs to expand and fill with air. But, how does the diaphragm fill the lungs from below? And, where does that air come from that fills the lungs?
To better understand how the respiratory system operates, you can build your own working model of the system with a few ordinary supplies!
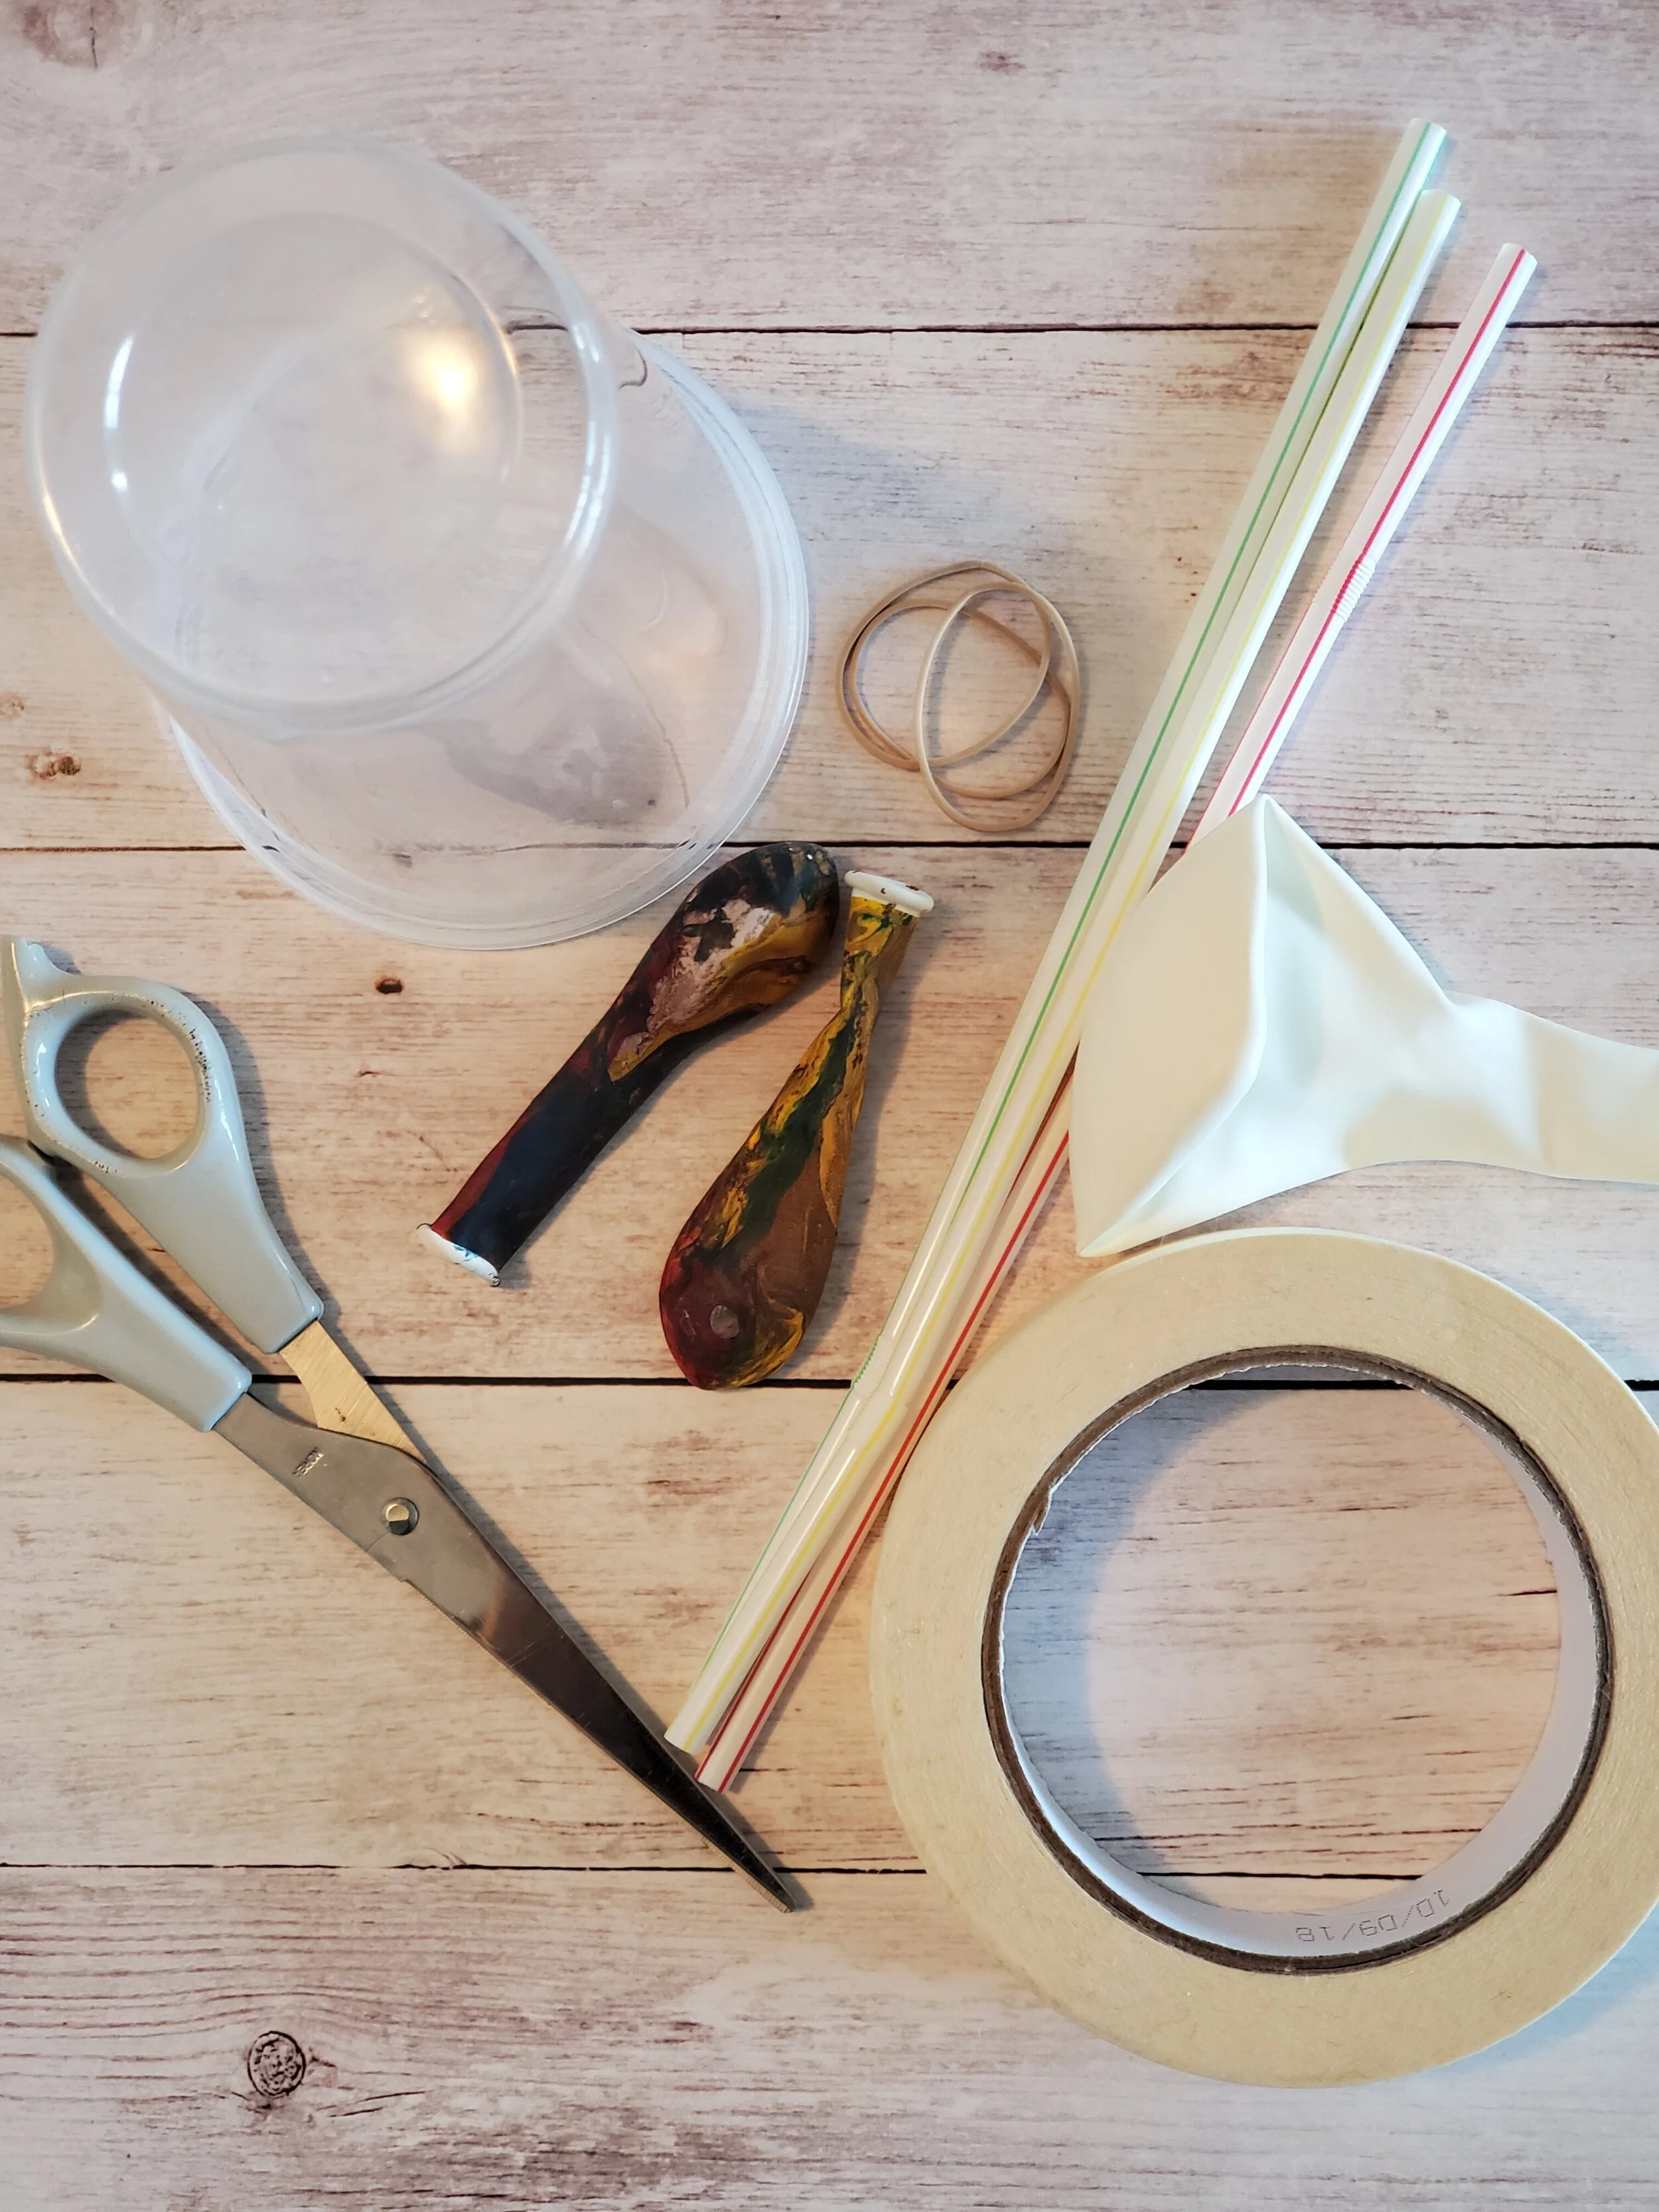
Here is what you will need:
1 clear, plastic cup (tall, 16oz cups work best)
2 straws (any width, but skinny ones work best)
2 small balloons (4-inch water balloons work well)
1 large balloon (12-inch)
2 small rubber bands
Masking tape
Scissors
Needle or thumb tack (optional)
Directions:
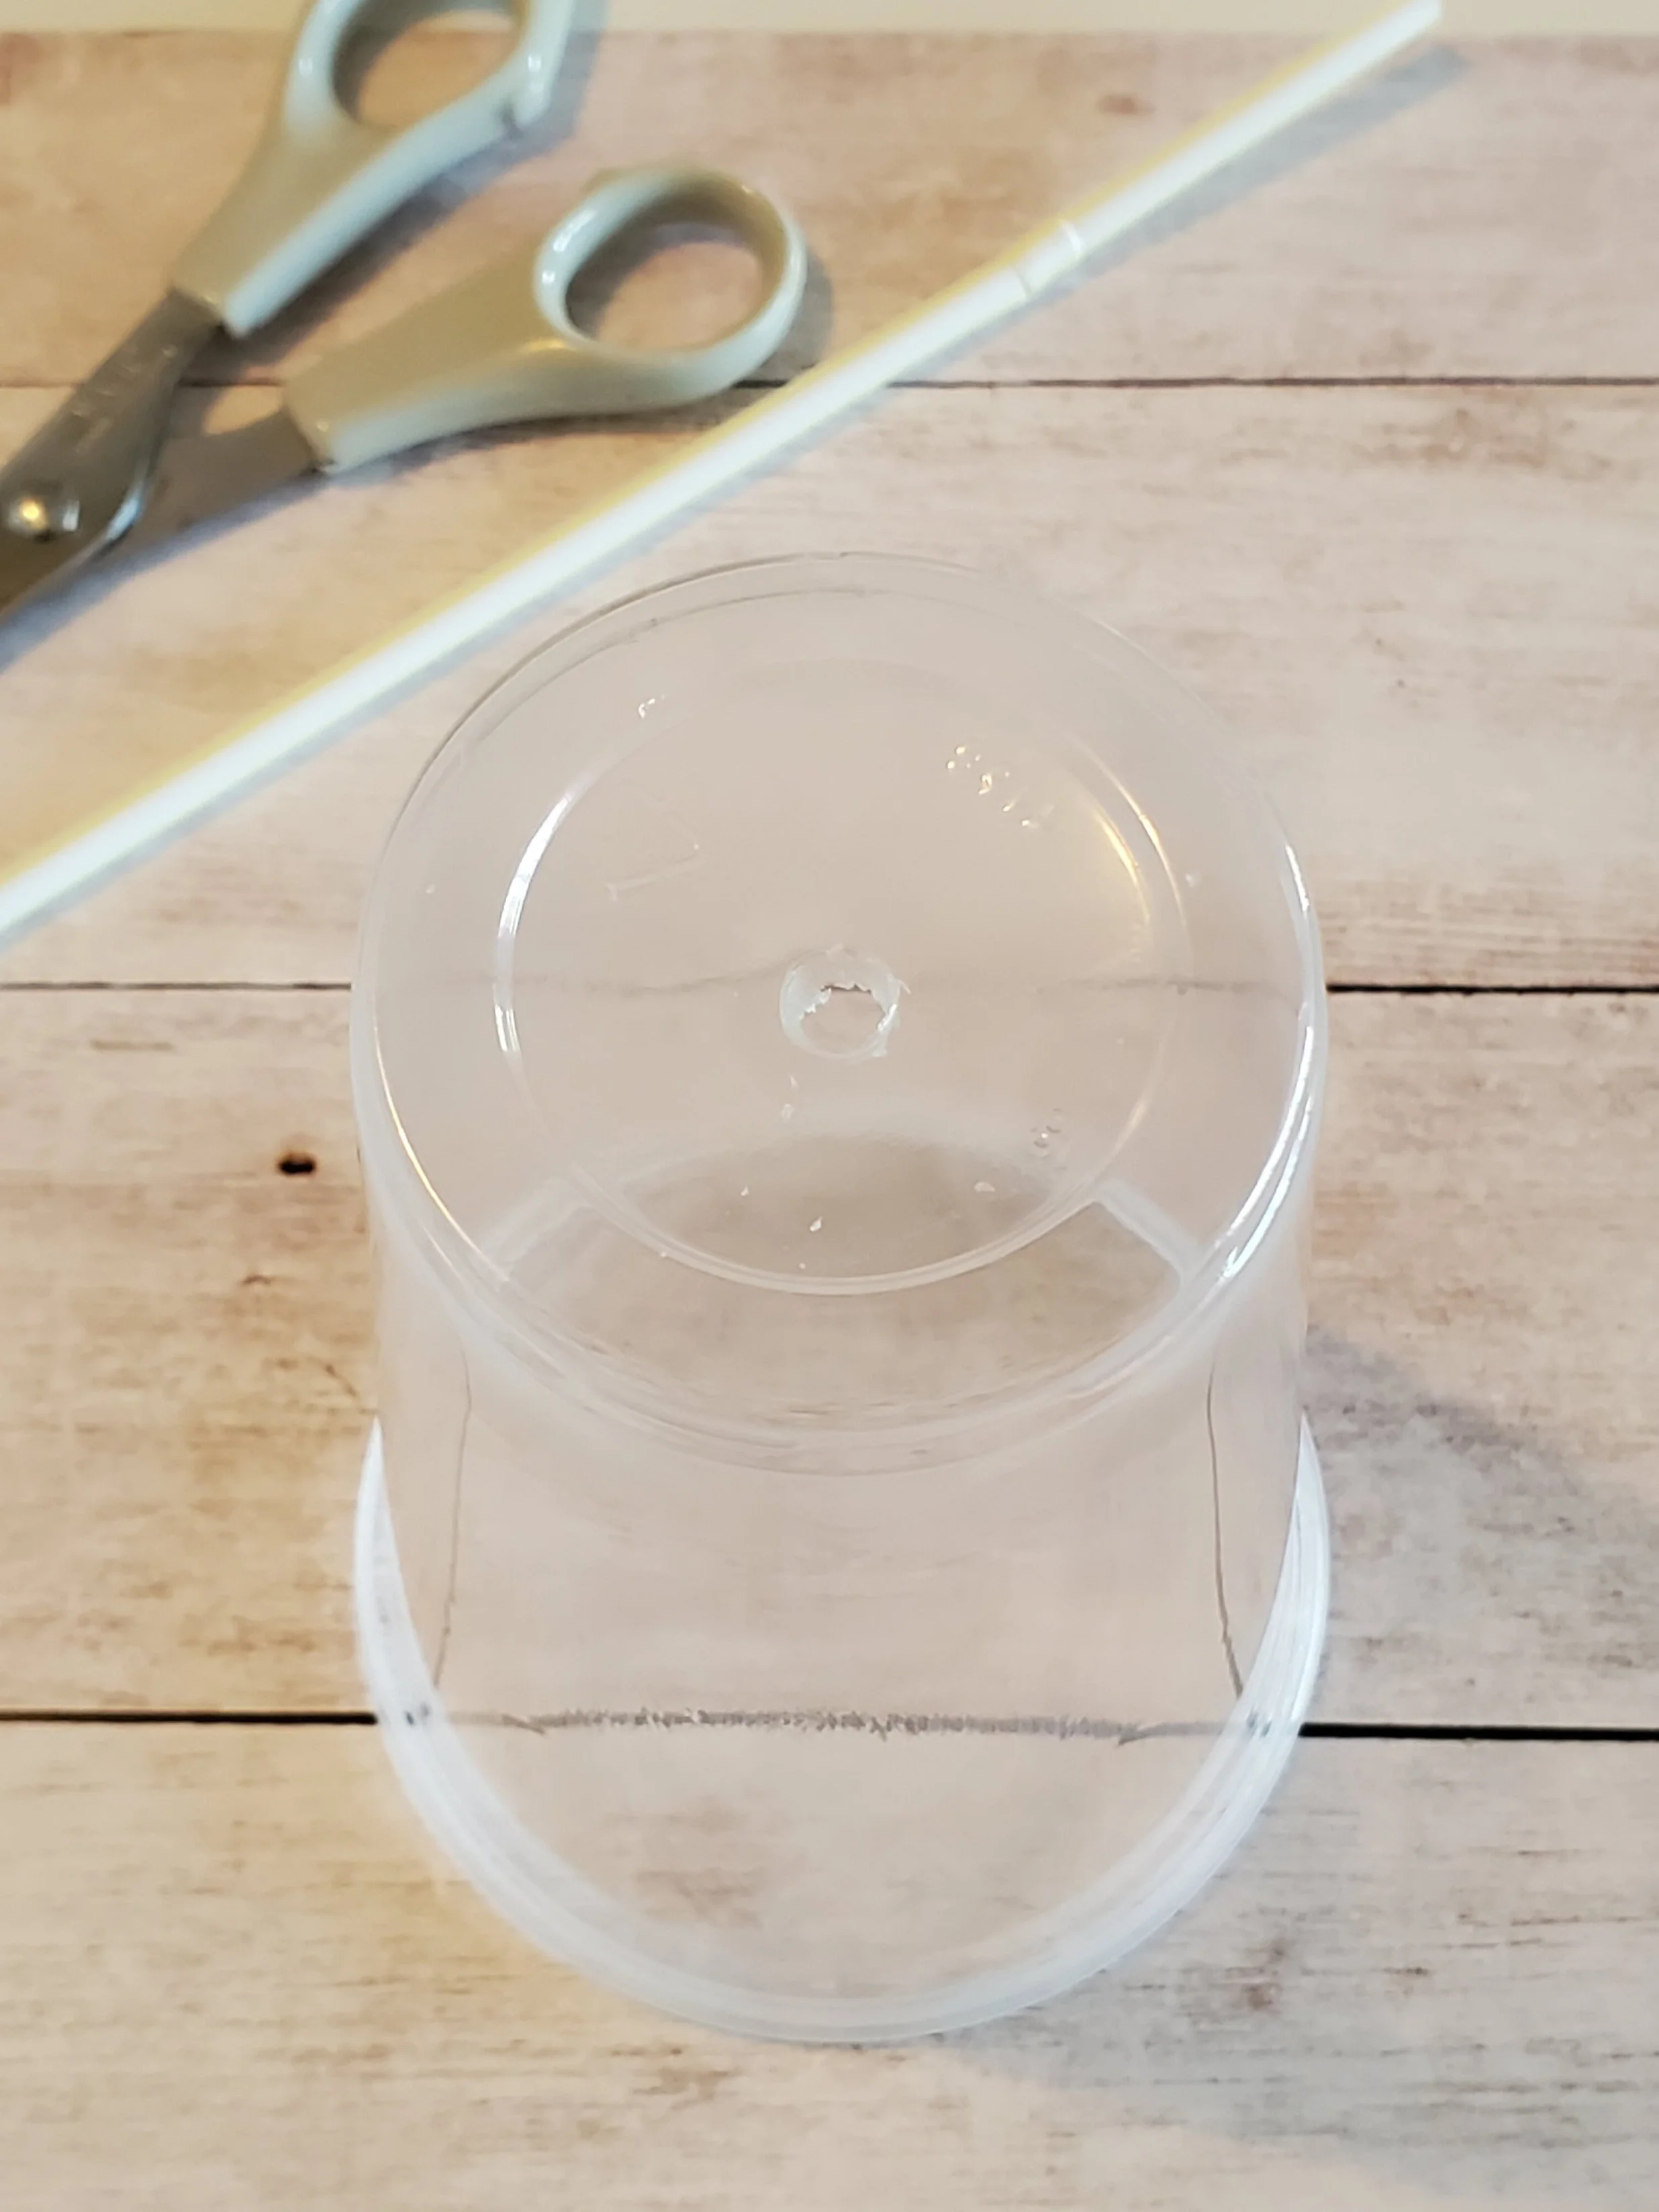
1. Make a hole in the center bottom of the cup
Make a hole in the center bottom of the cup, approximately .5cm wide or big enough to fit one of the straws through snugly (you don’t want the straw to bend but you do want it to sit tightly in the hole and not slide around easily).
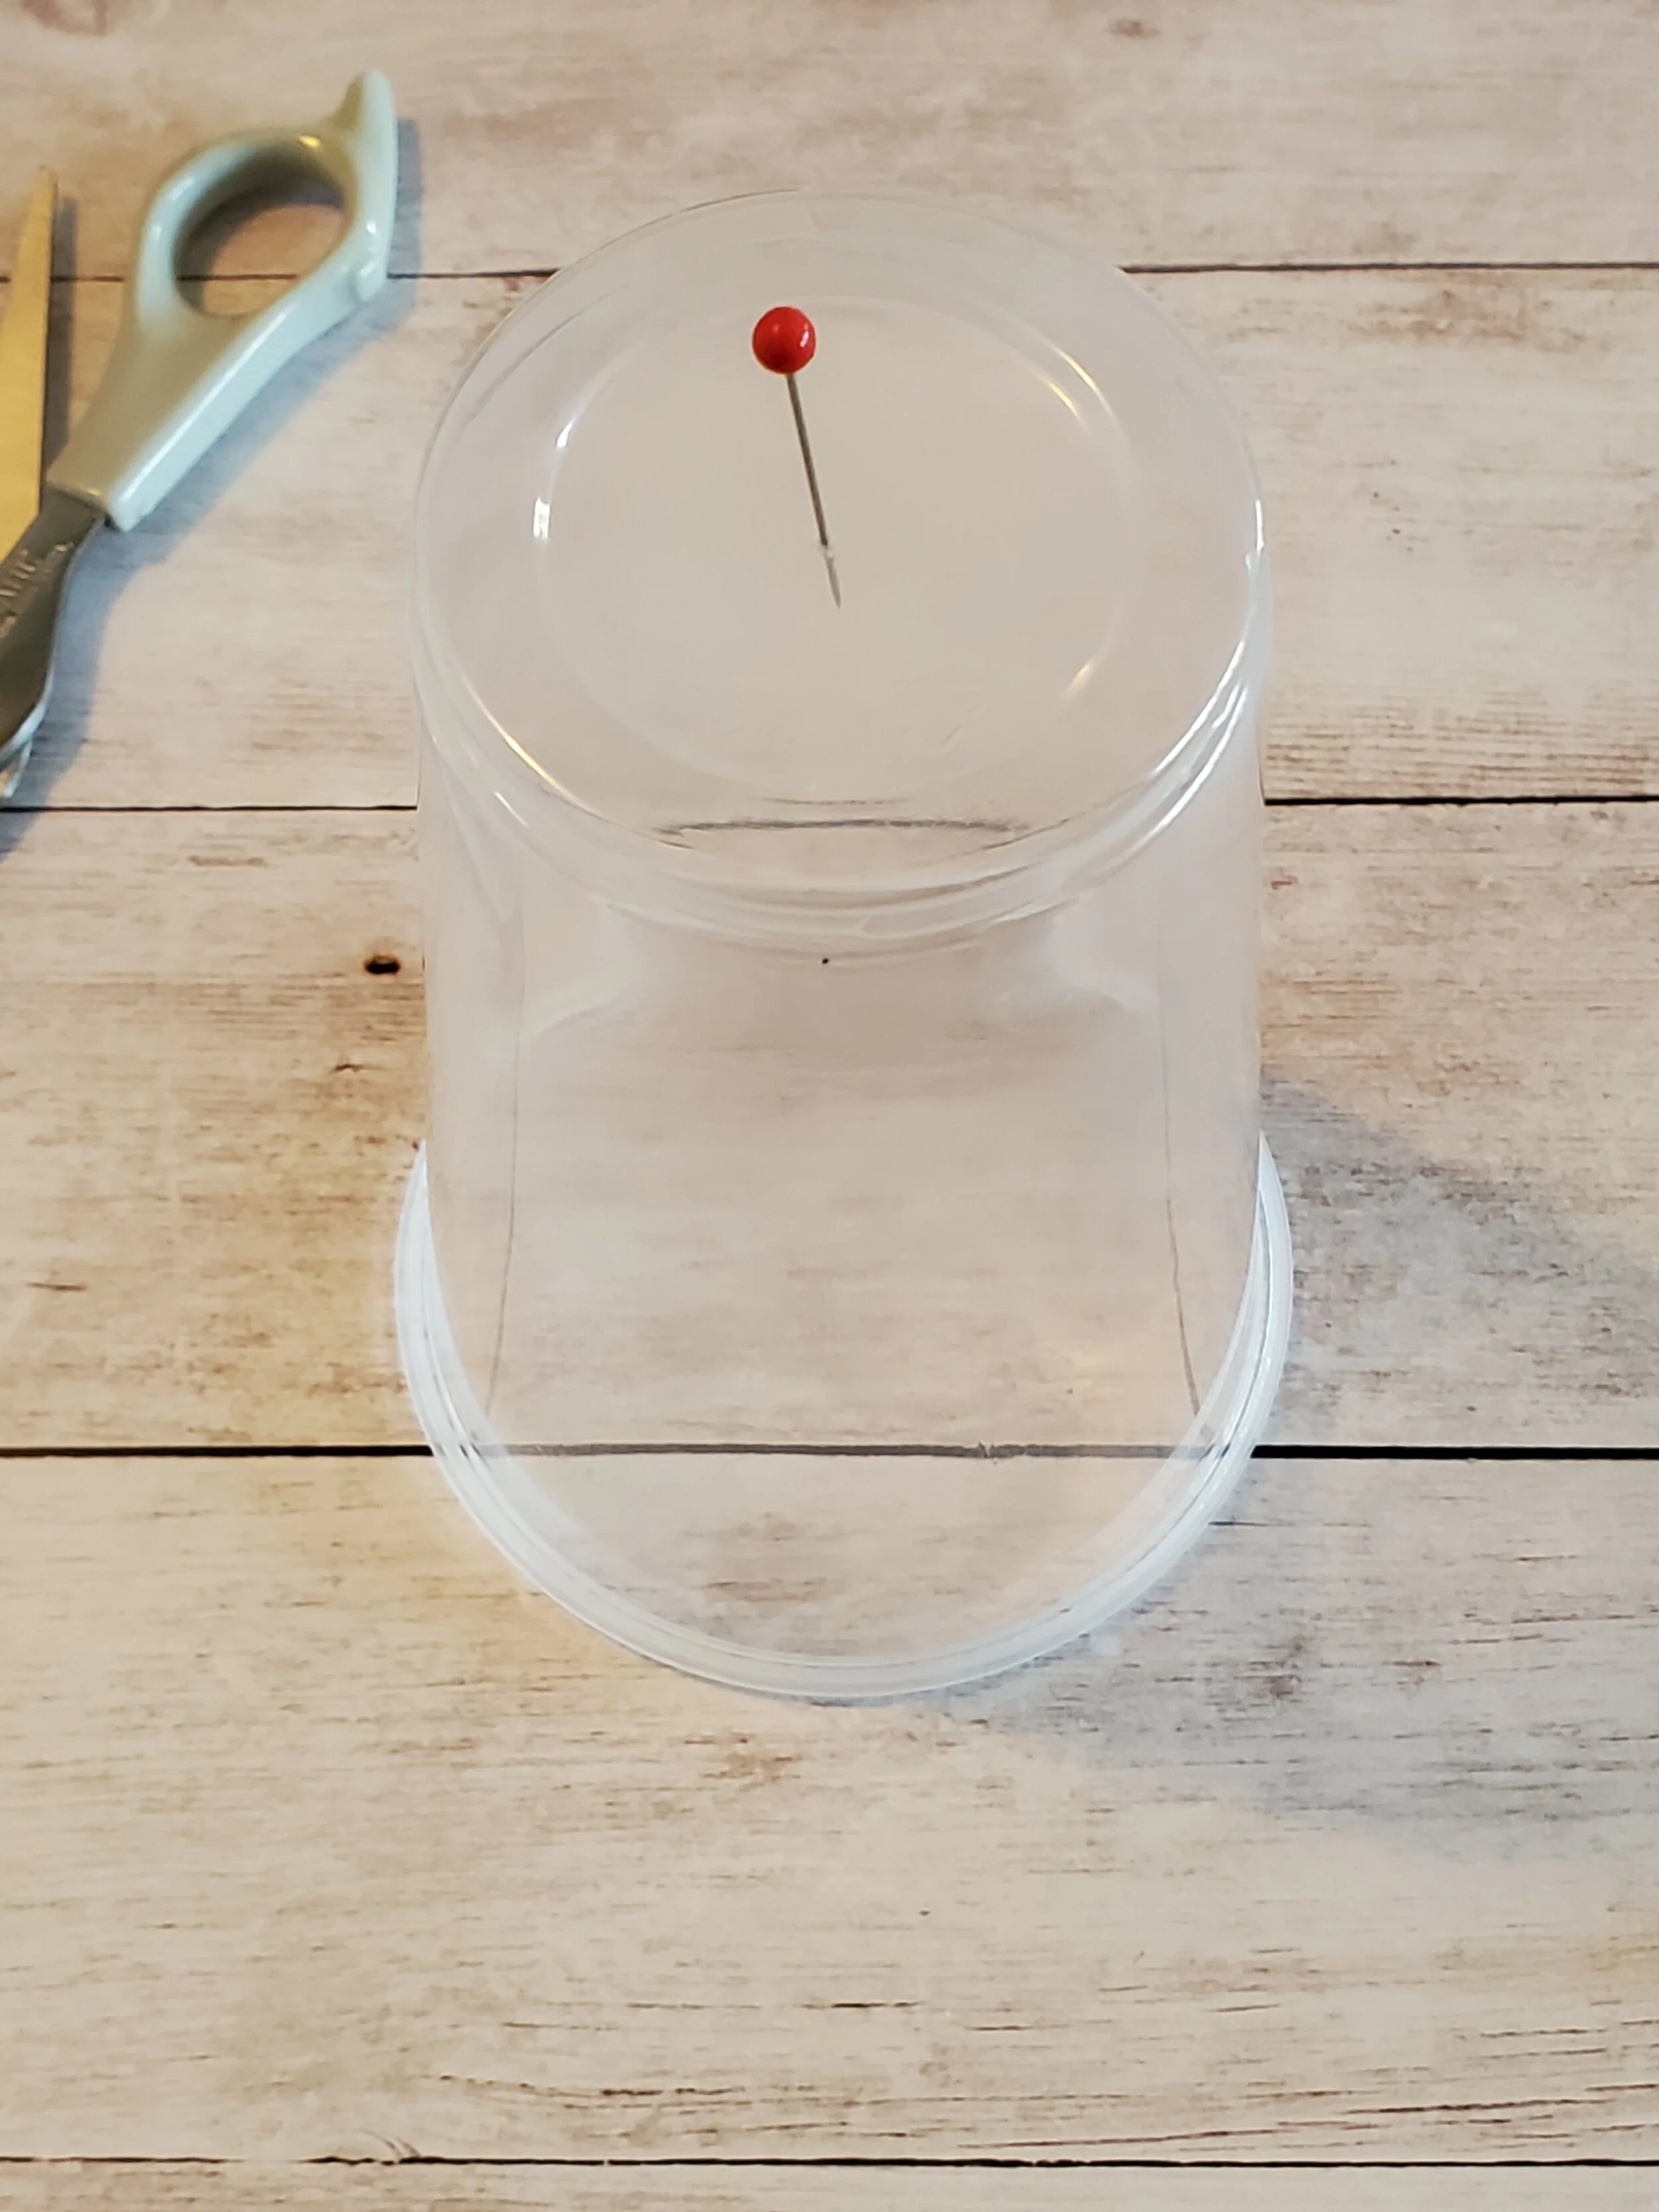
To make the hole…
If you are letting students or kids do this part, remind them that slow and steady wins the race! It is helpful to create a pilot hole using a needle or thumb tack. Press the needle or tack through the center to start the hole. Then, using one of the blades on a pair of scissors, slowly and carefully twist until the blade punctures through. It is easy to crack, bend, or break the cup on this step, which is why a slow twist is the best option for making a hole, rather than trying to punch or jab through.
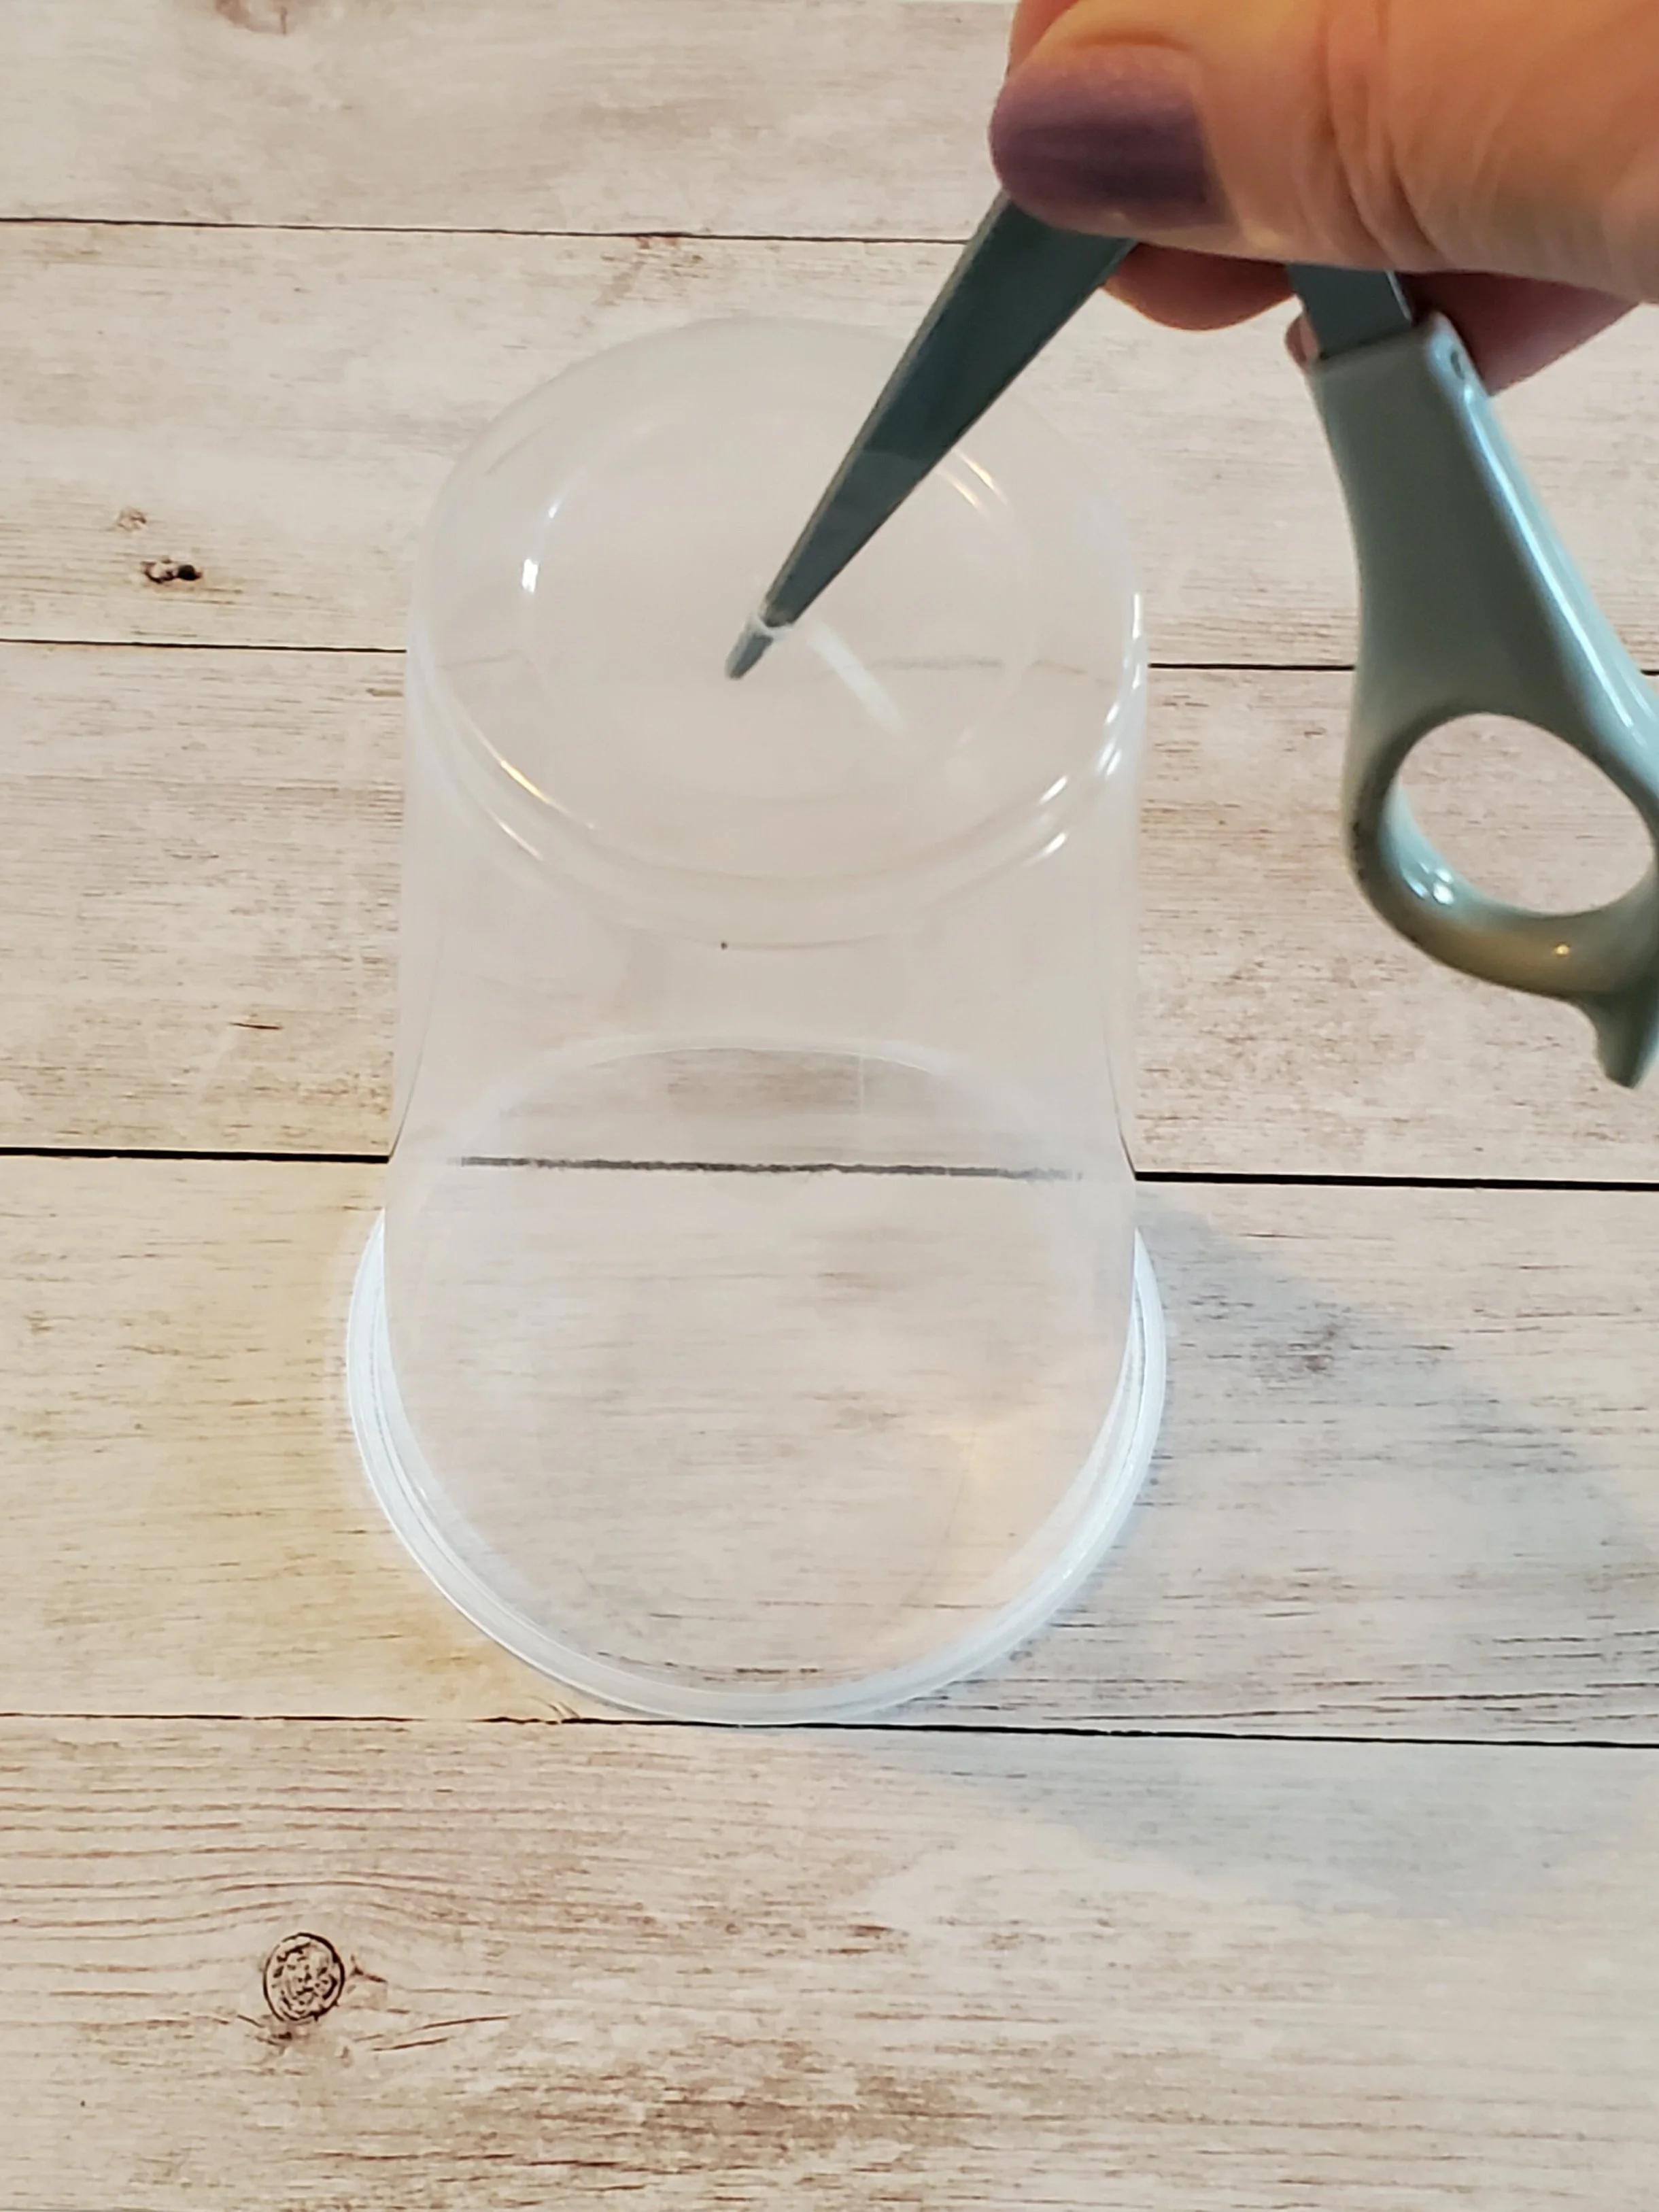
Slow and steady twists…
Once the blade is through, keep twisting until you reach the desired hole width. Encourage students to stop, put the straw through to check the fit, then continue if needed. Twisting and turning the blade is important because it creates a uniformed, round hole for a snug fit. This also ensures that air won’t leak out when the model is finished, which is important!
The straw should fit snugly into the hole to prevent air from leaking out and to allow the straw to sit tightly without moving on it’s own.
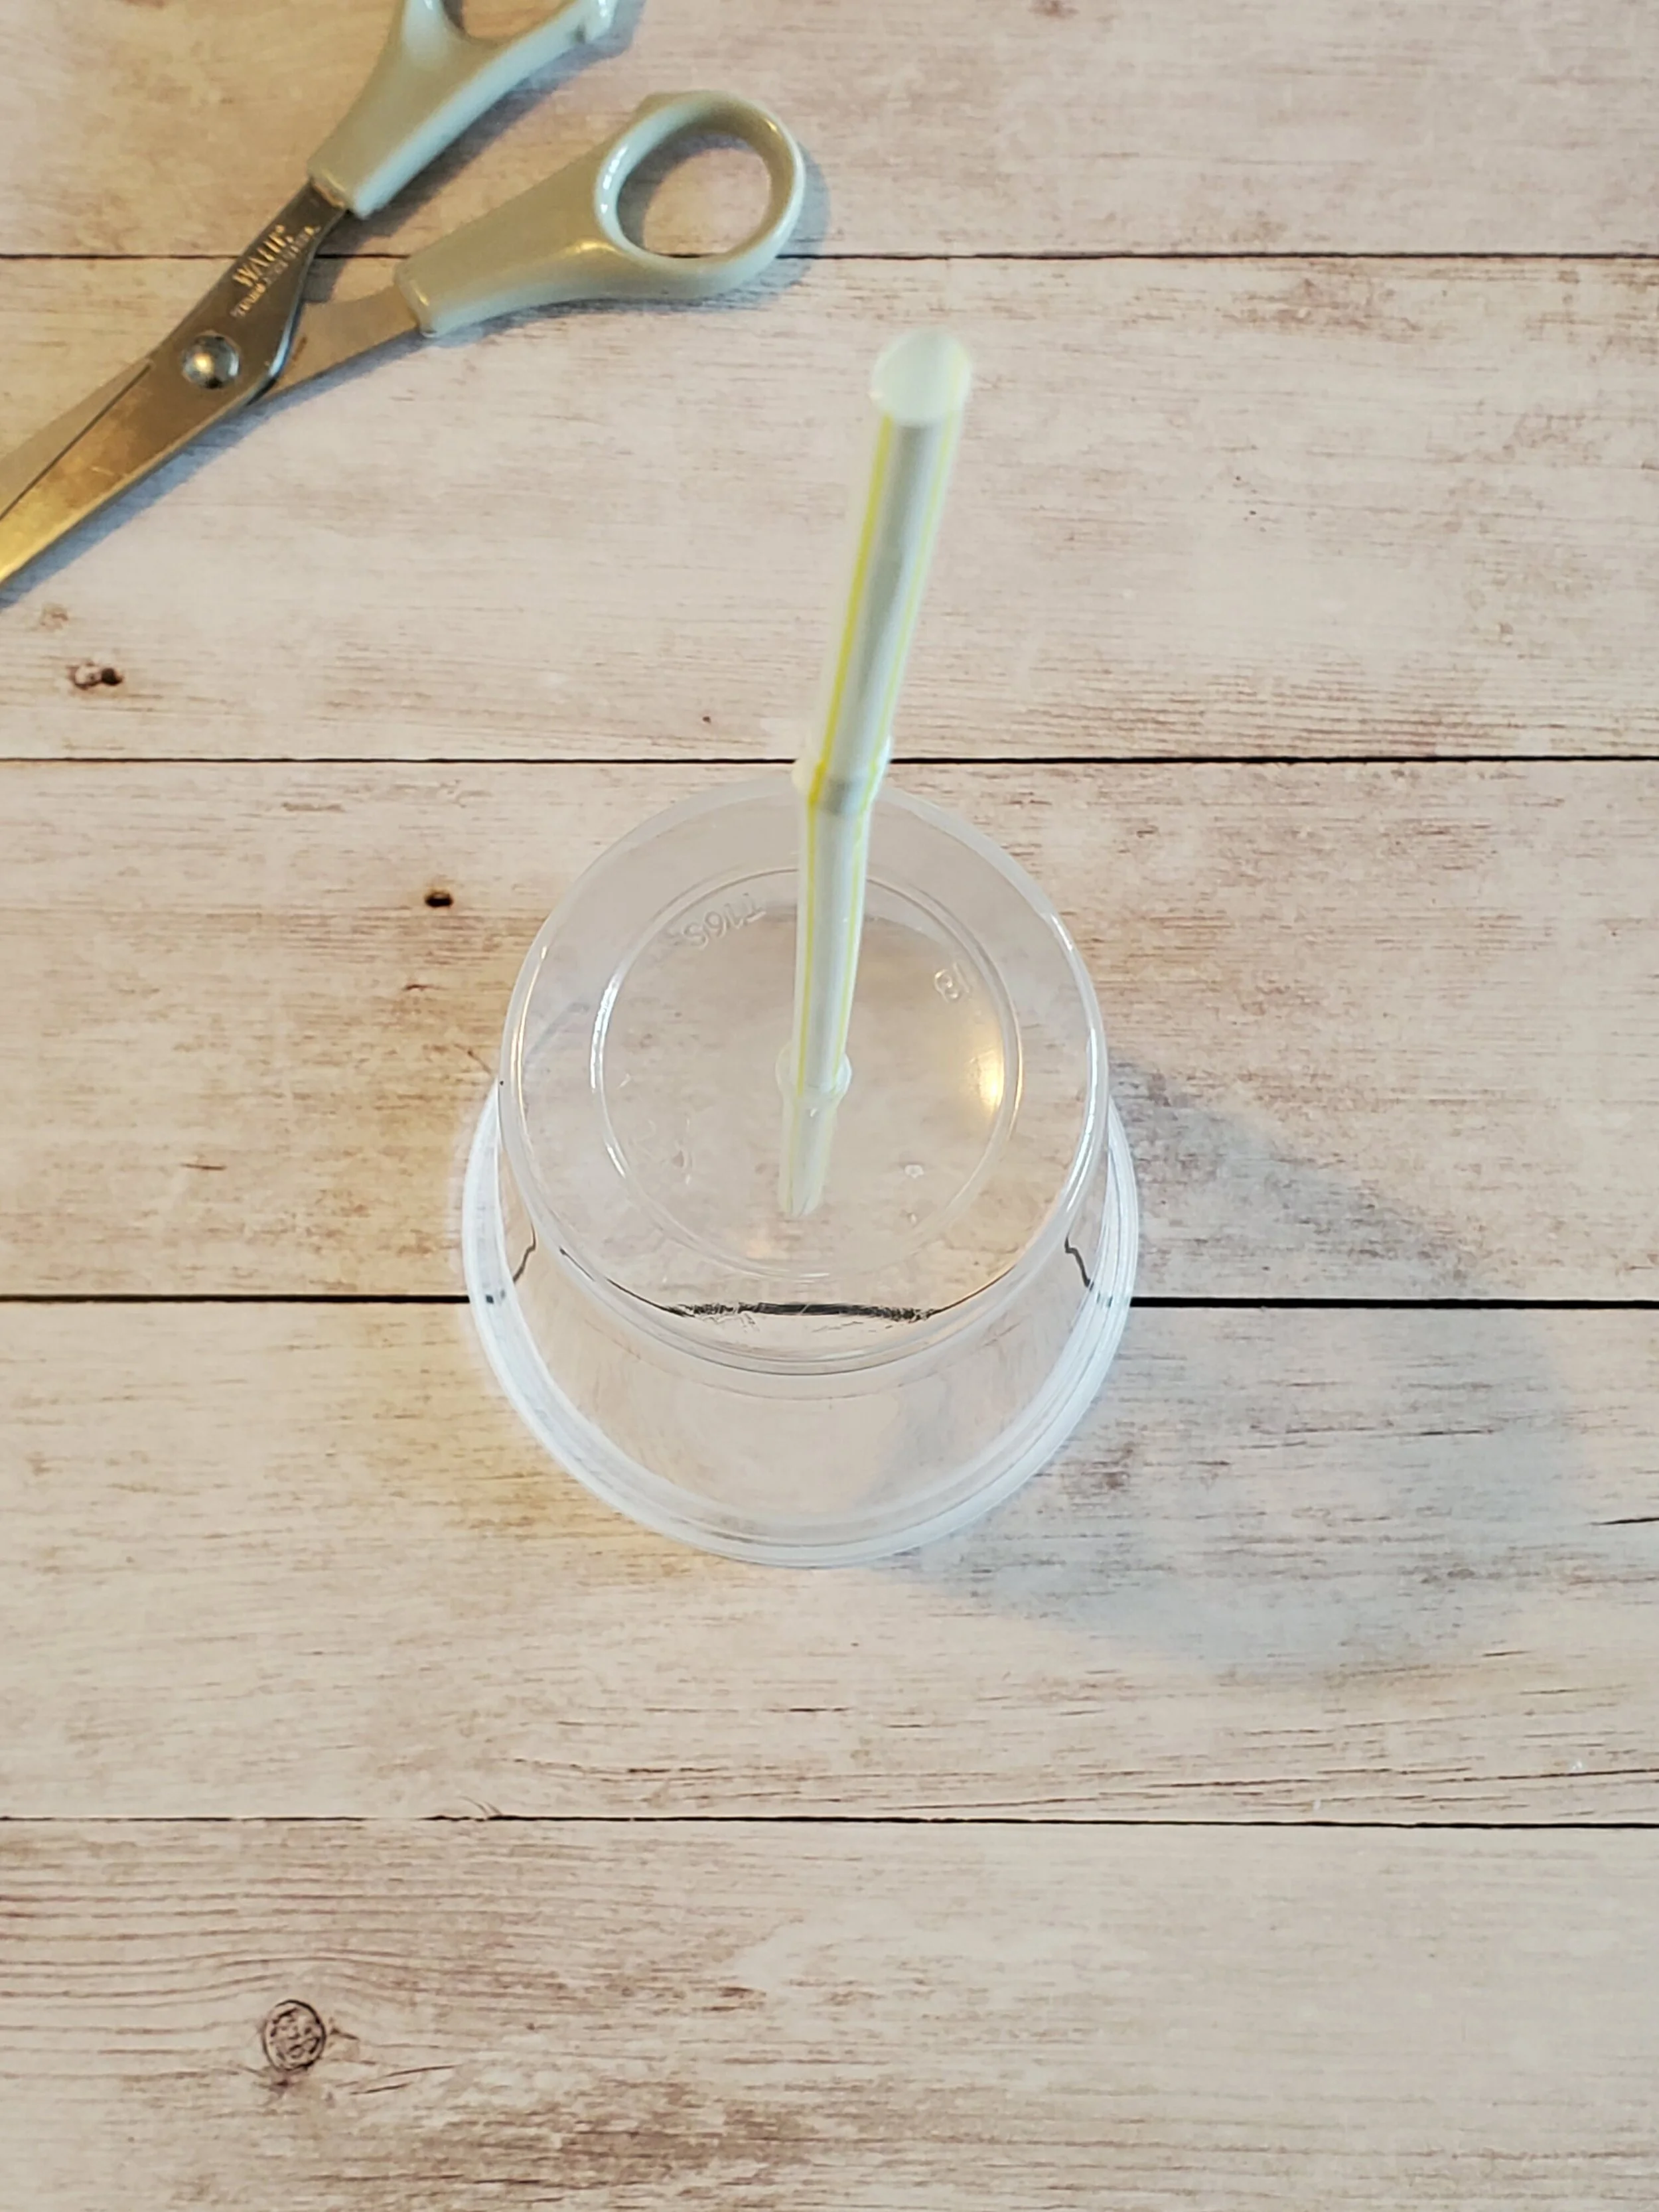
2. Place one of the two straws through the hole
Place one of the two straws through the hole until it is about 2 inches past the opening of the cup.
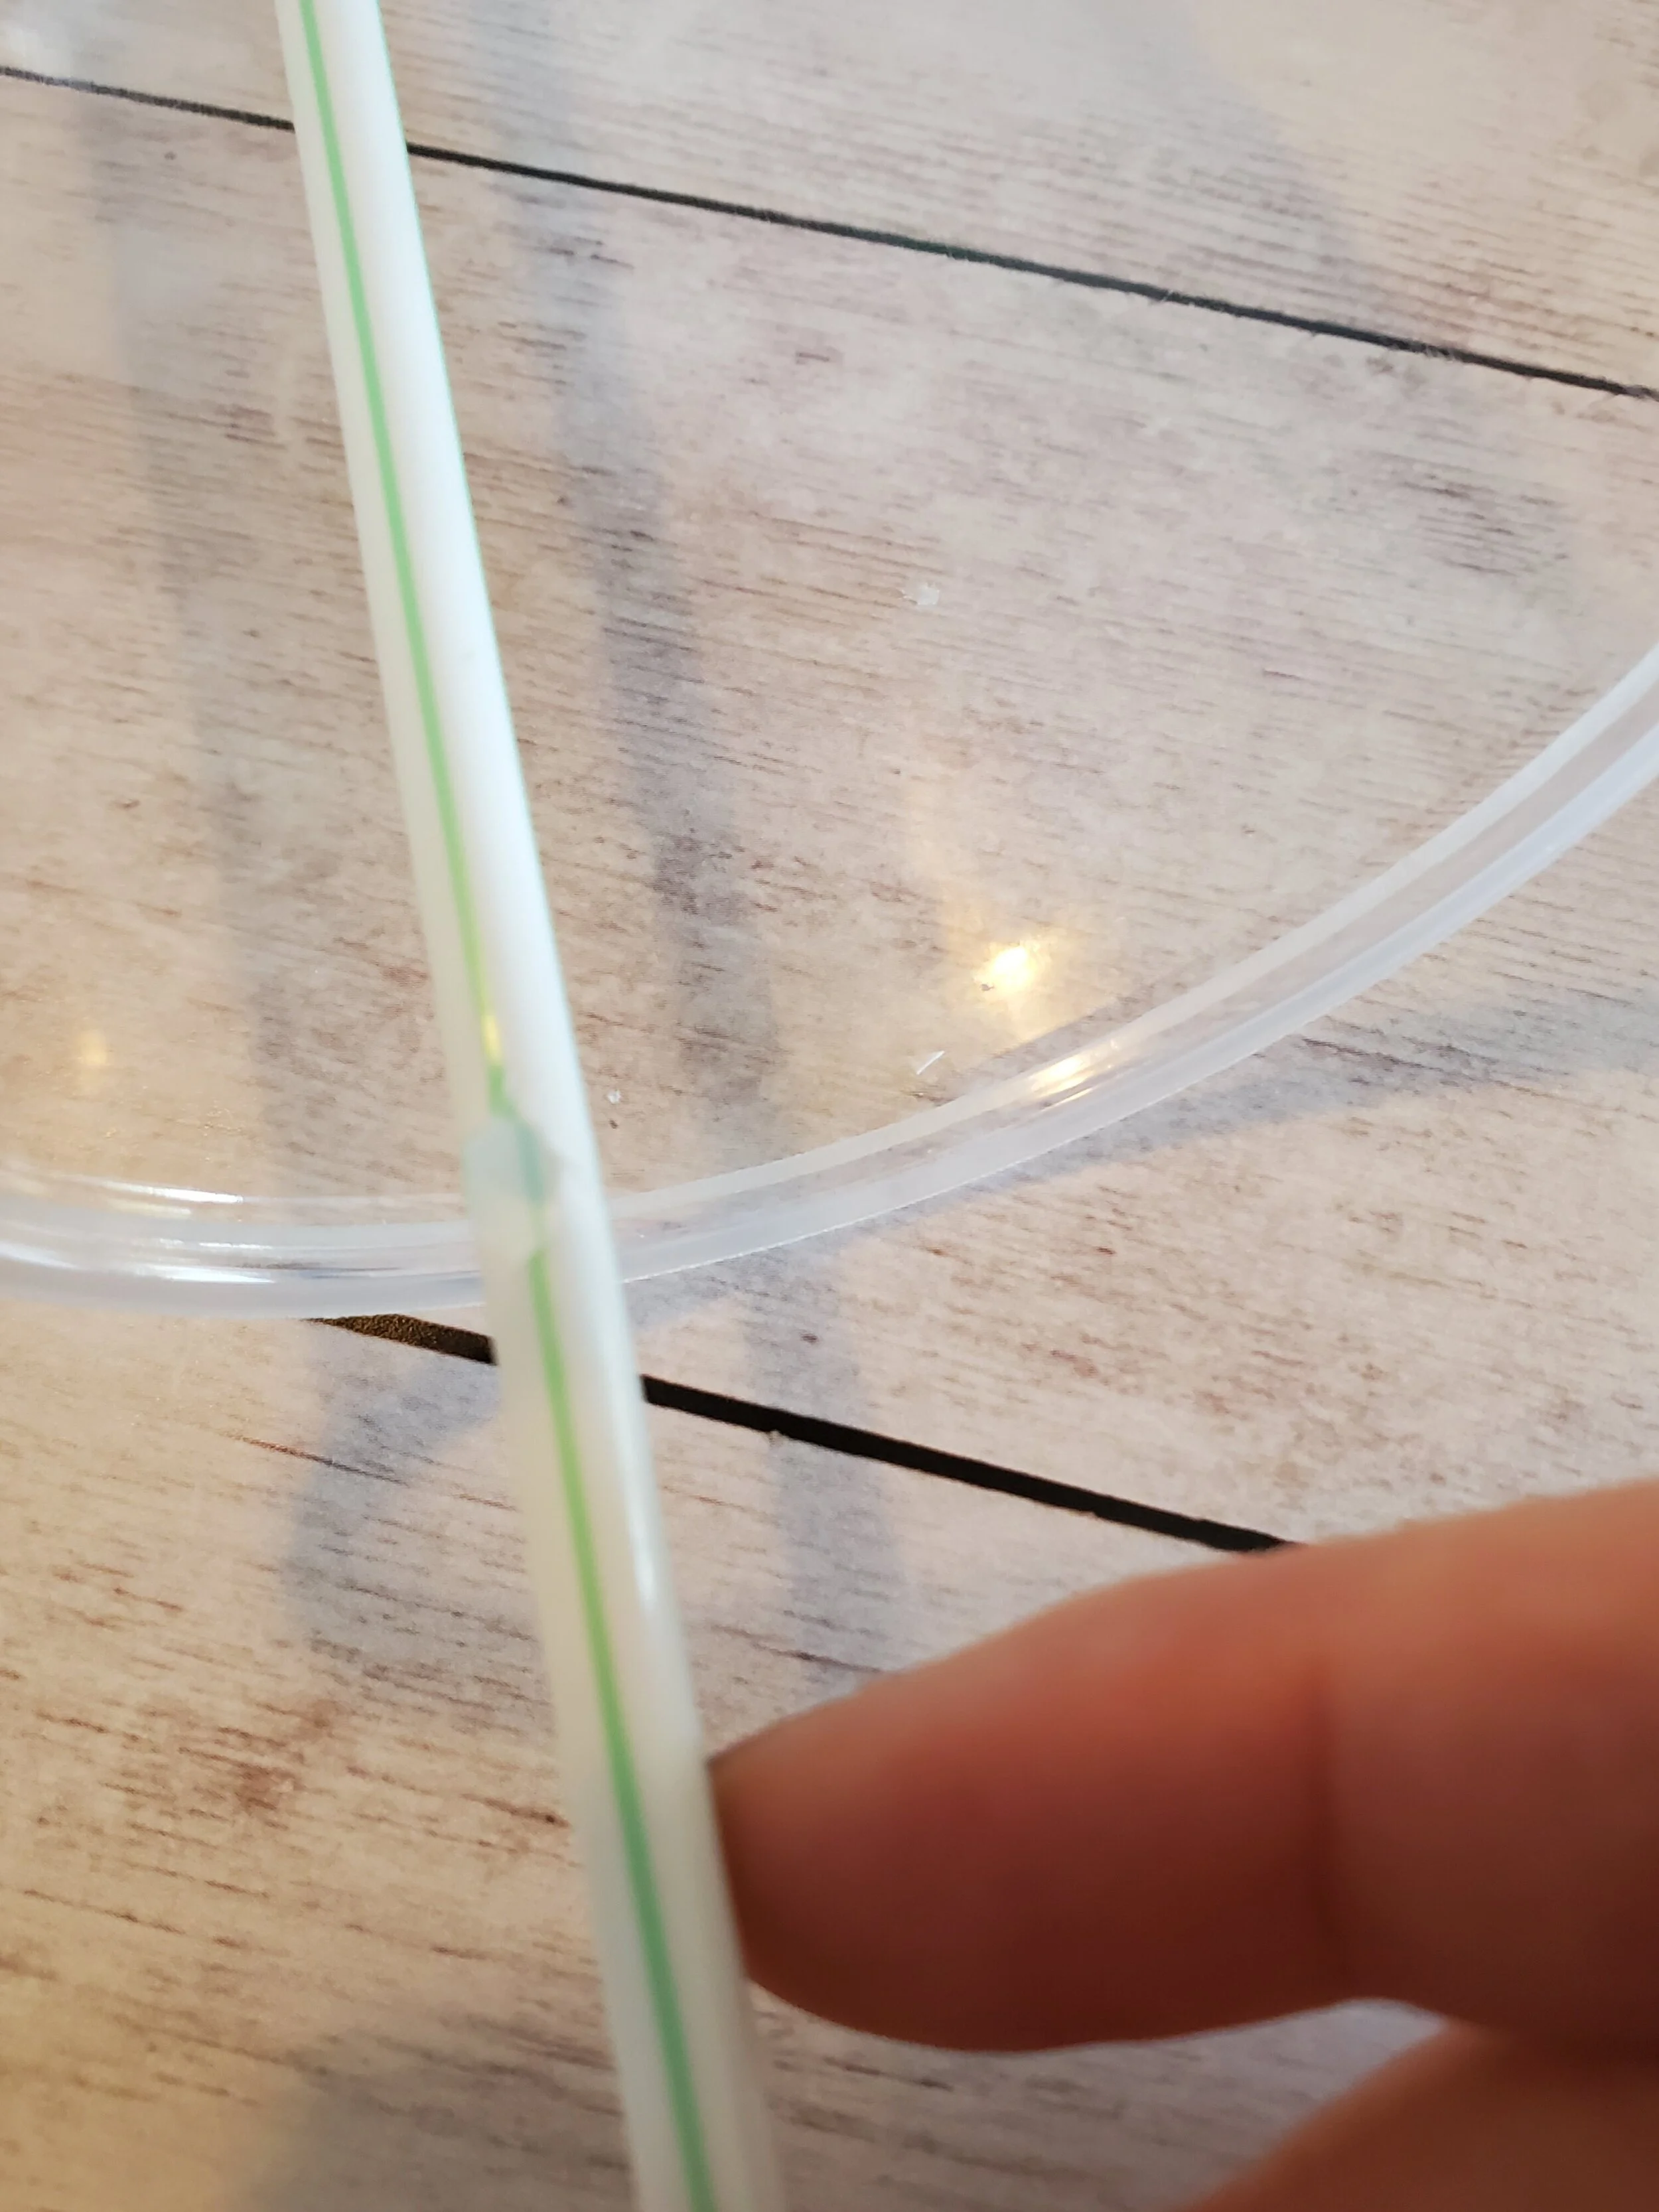
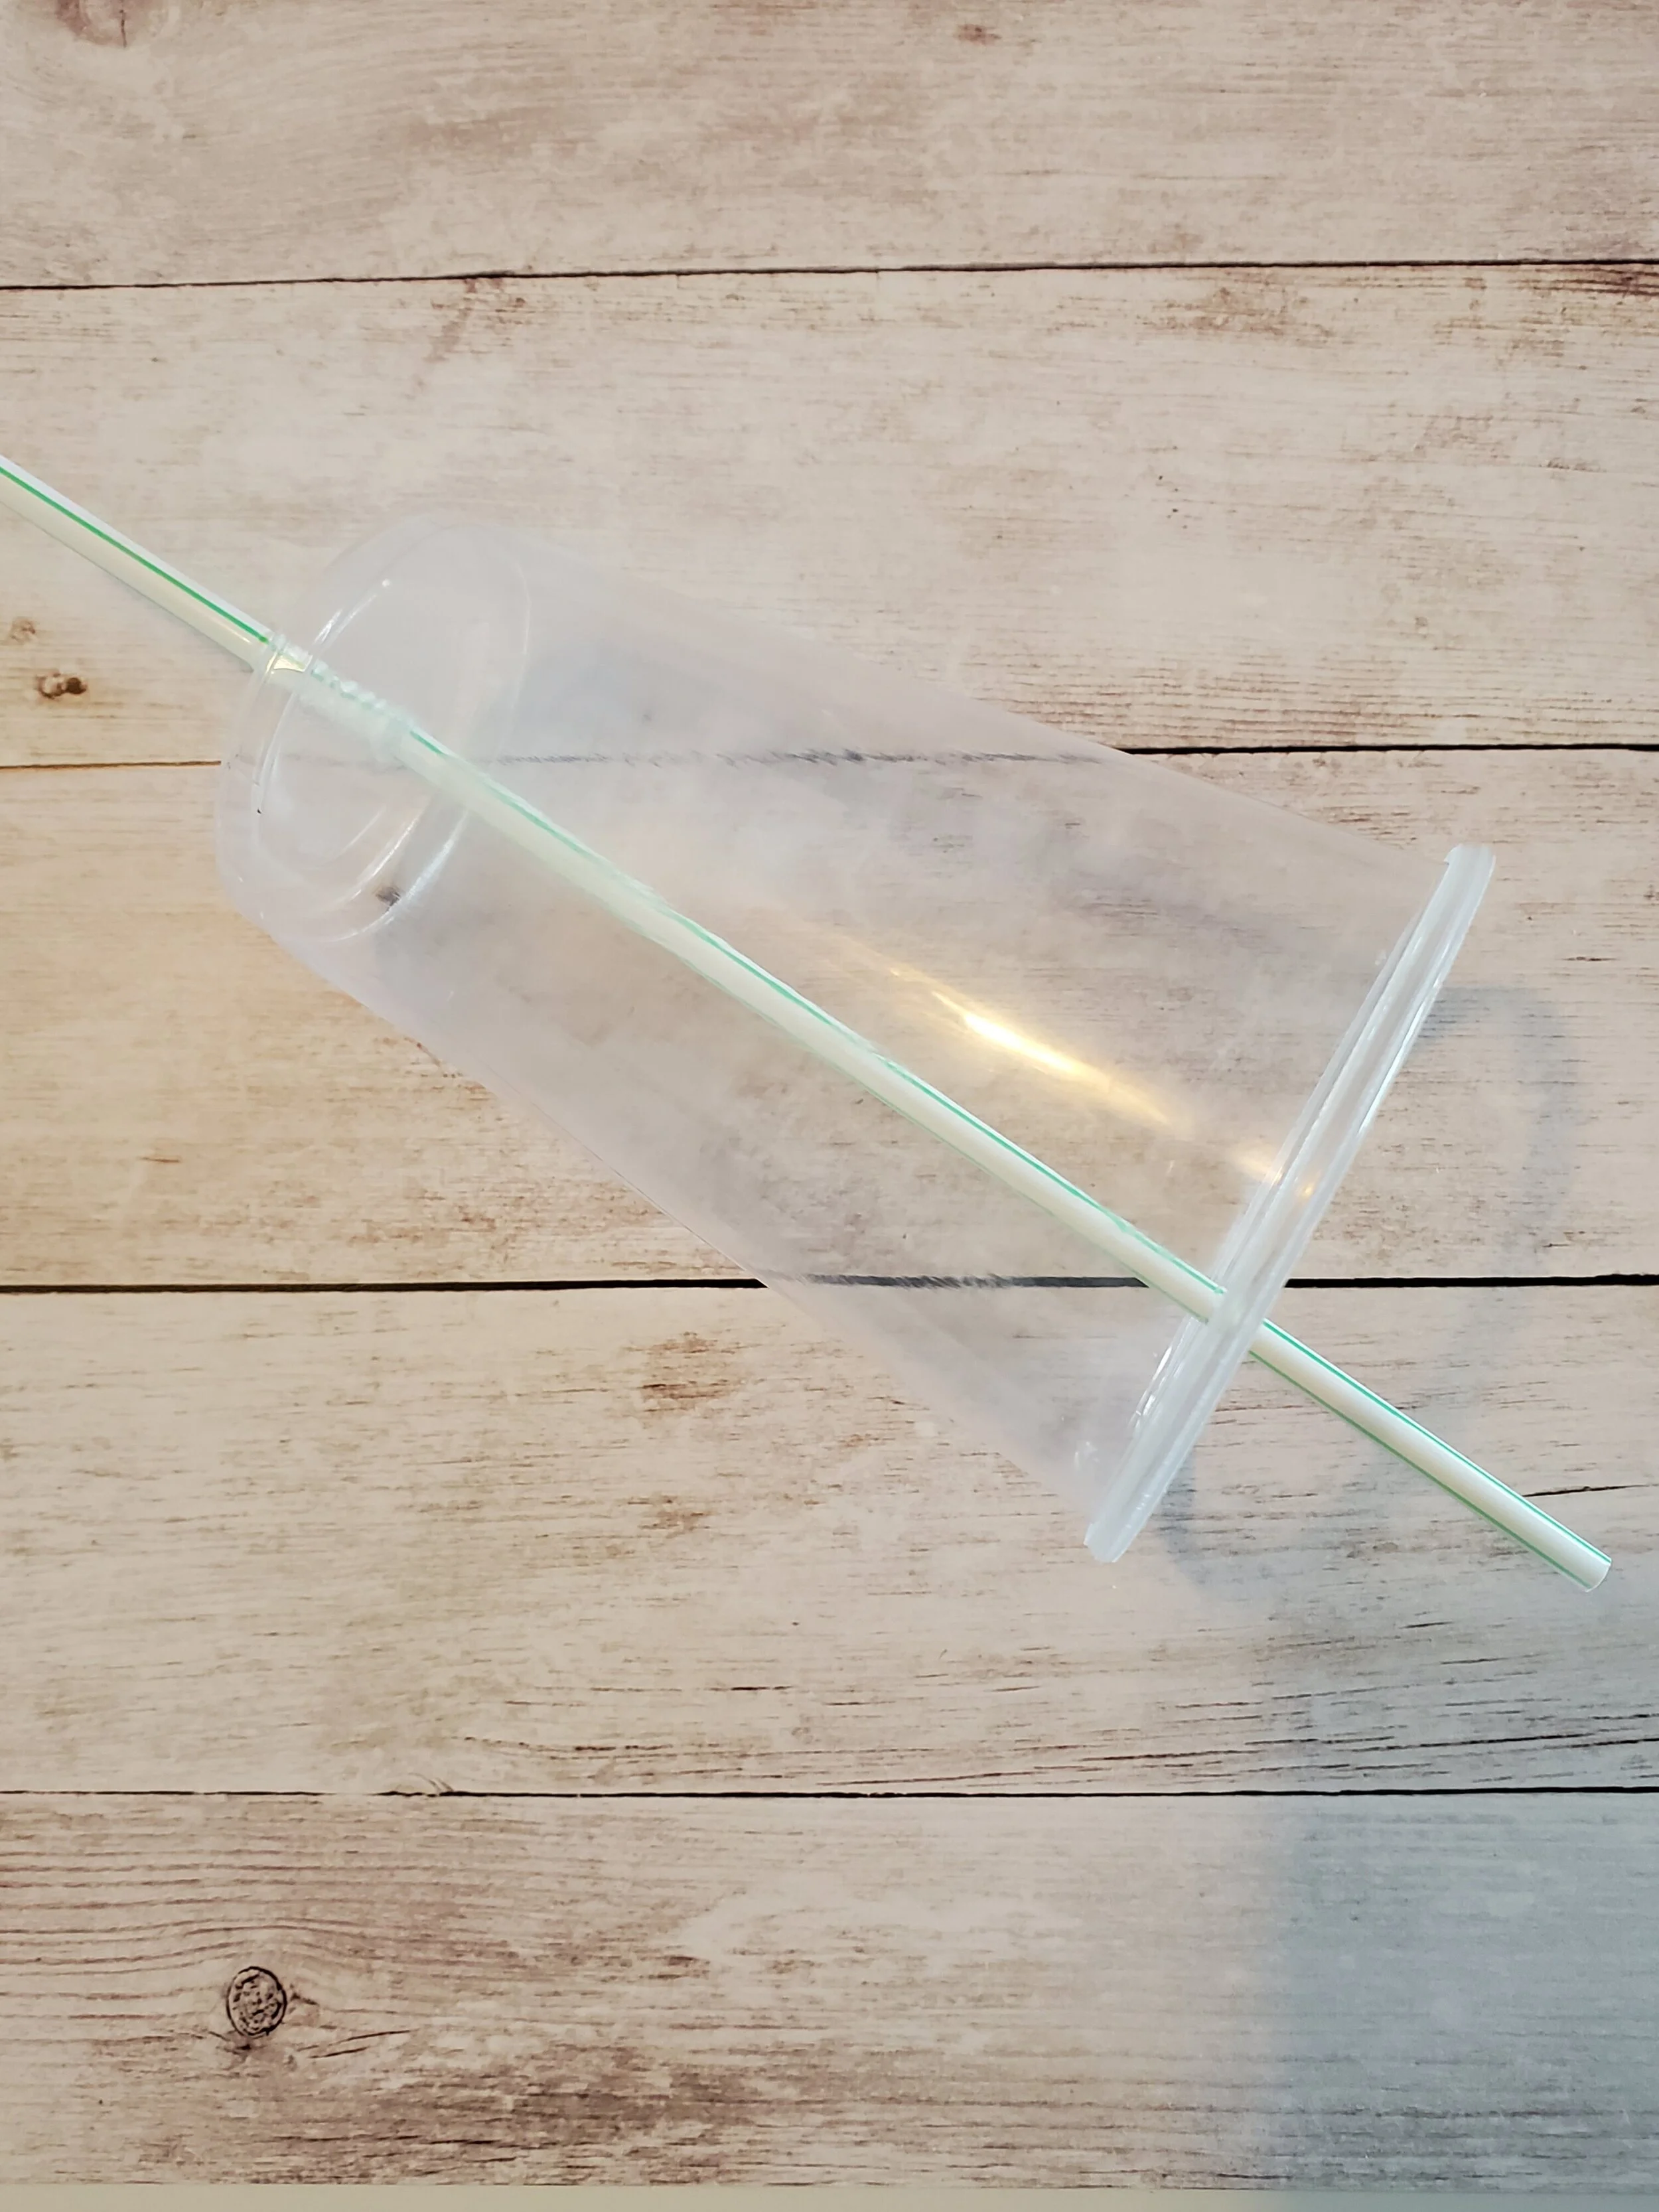
3. Cut a small circle into one side of the straw
Cut a small circle into one side of the straw, about 2 inches from the bottom of the straw (the side that is sticking out of the cup’s opening). Make the hole just big enough so that the second straw can fit snugly into it.
Notice that you are making an opening on one side of the straw, not cutting through the straw.
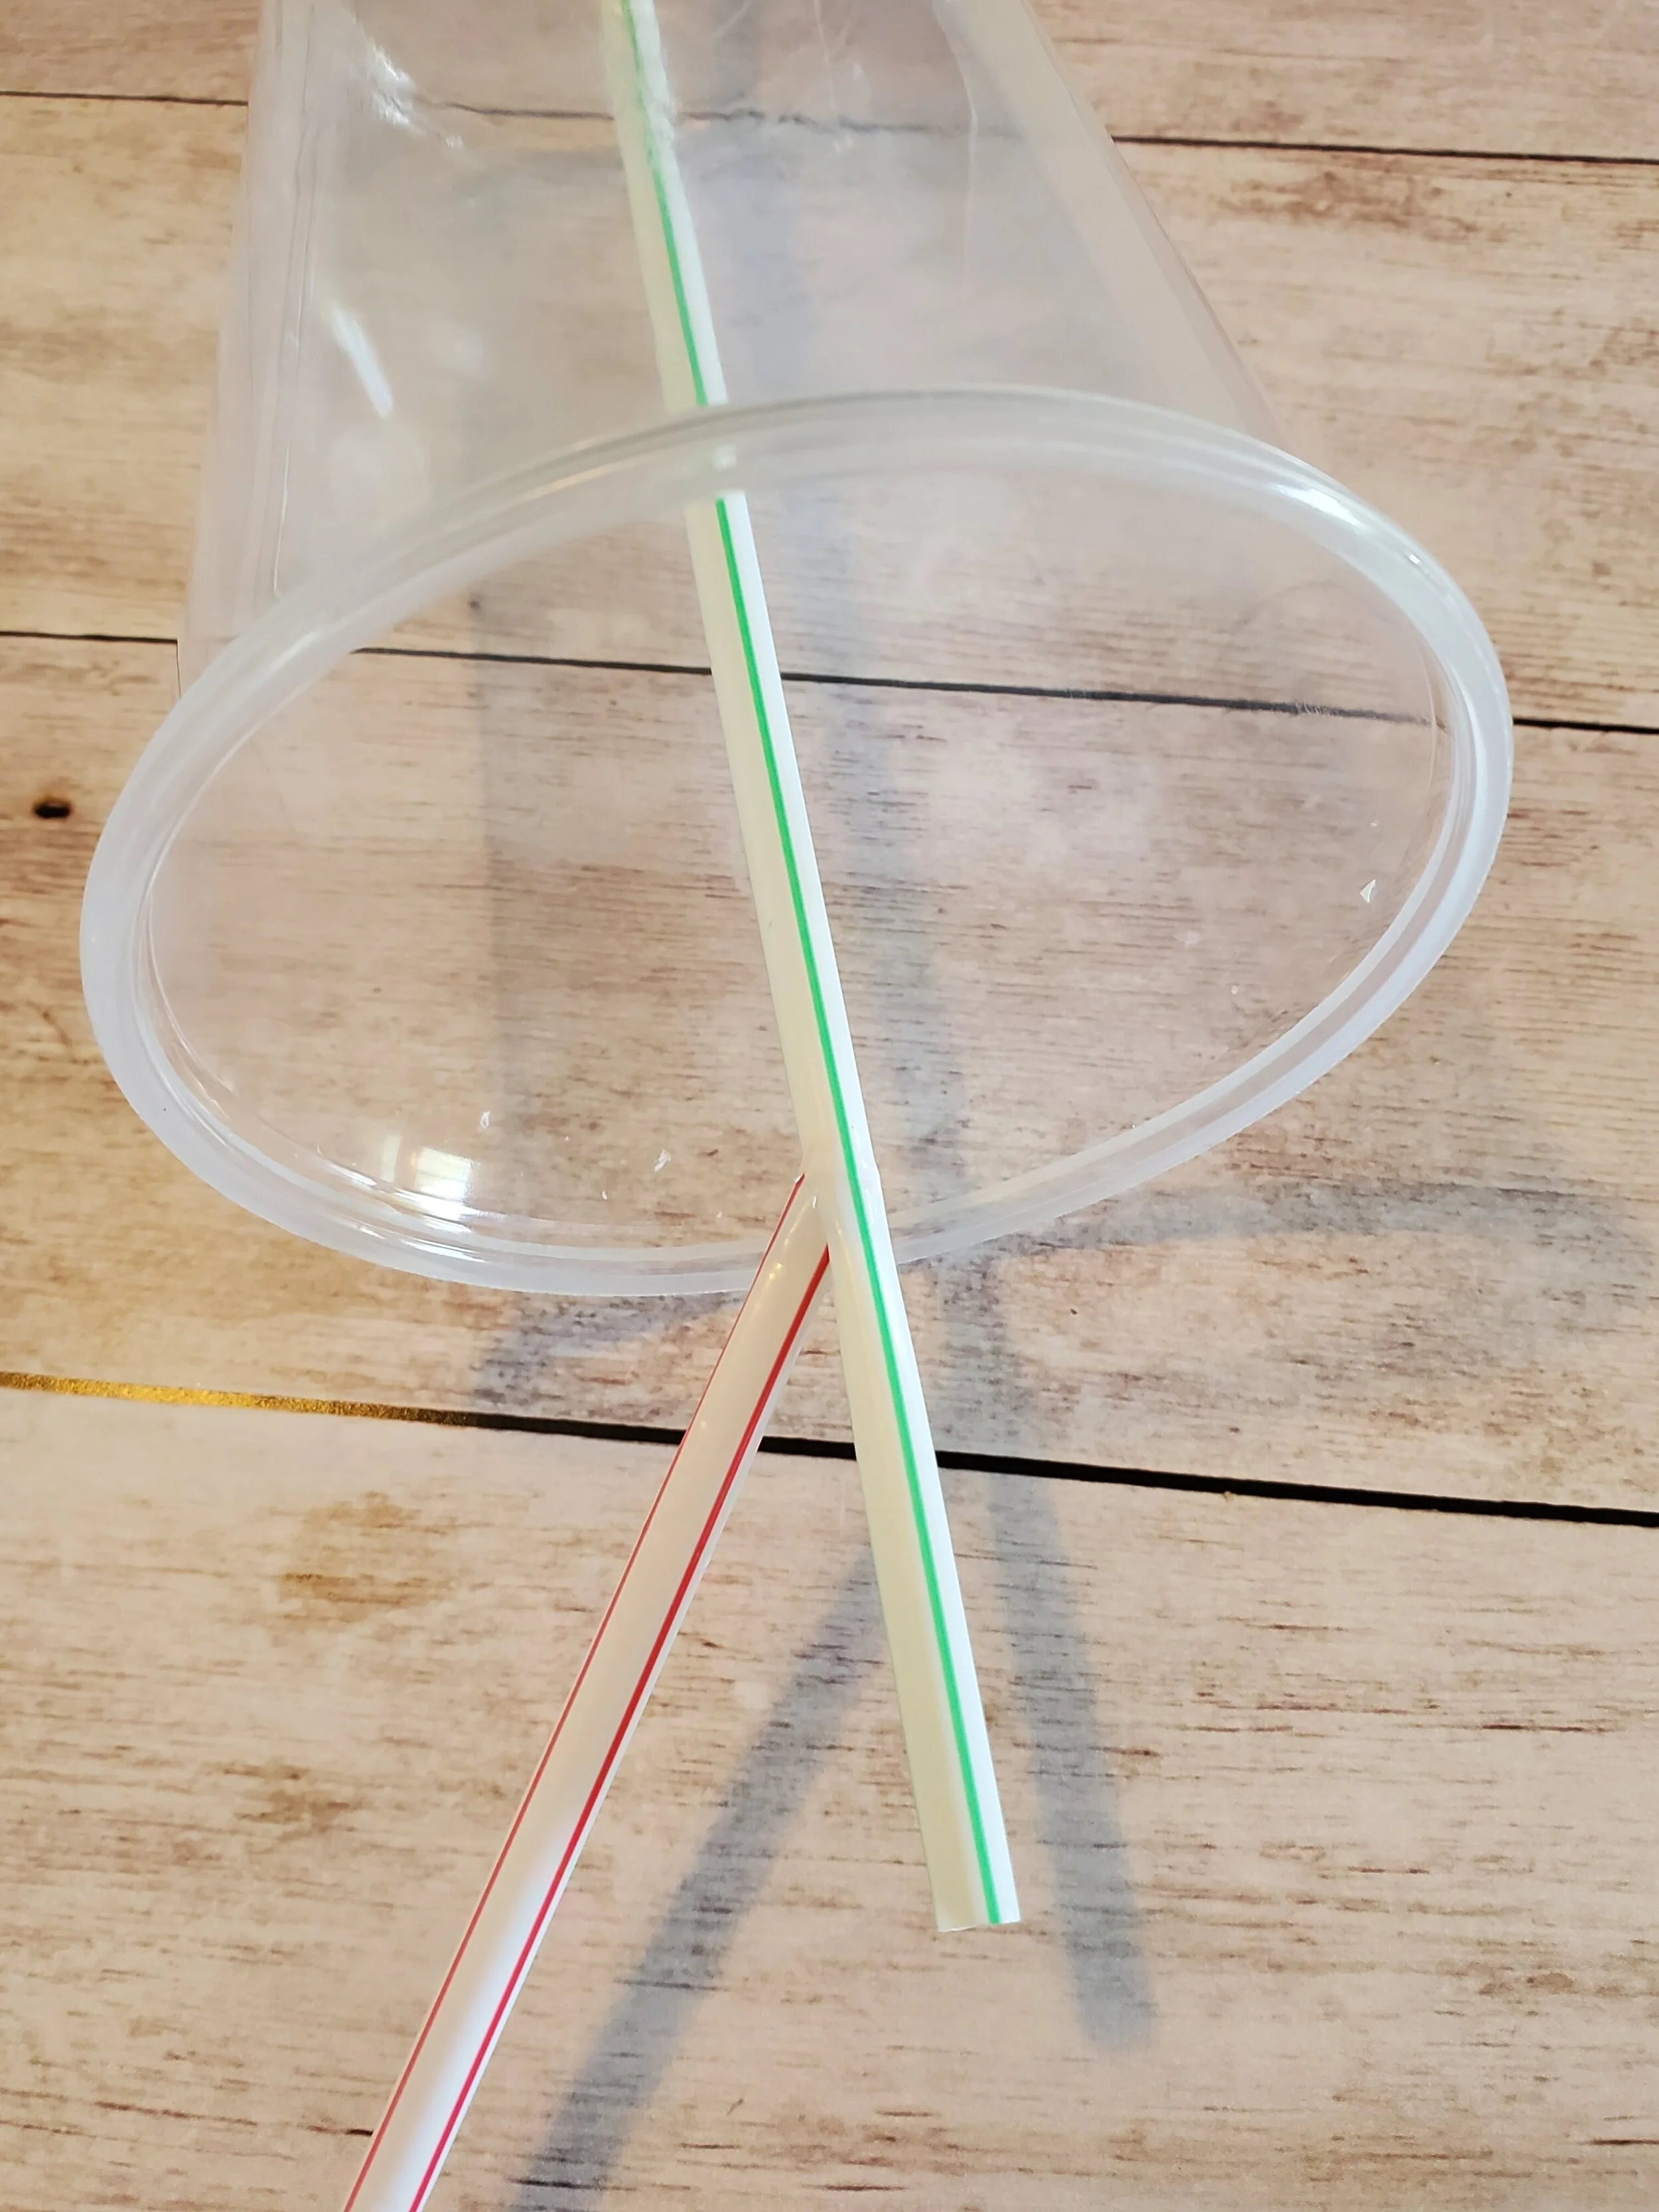
4. Insert the second straw into the hole
Insert the second straw into the hole, just until it fits without forcing it (if you need to, cut the hole slightly wider). You want the second straw to fit snugly without being bent.
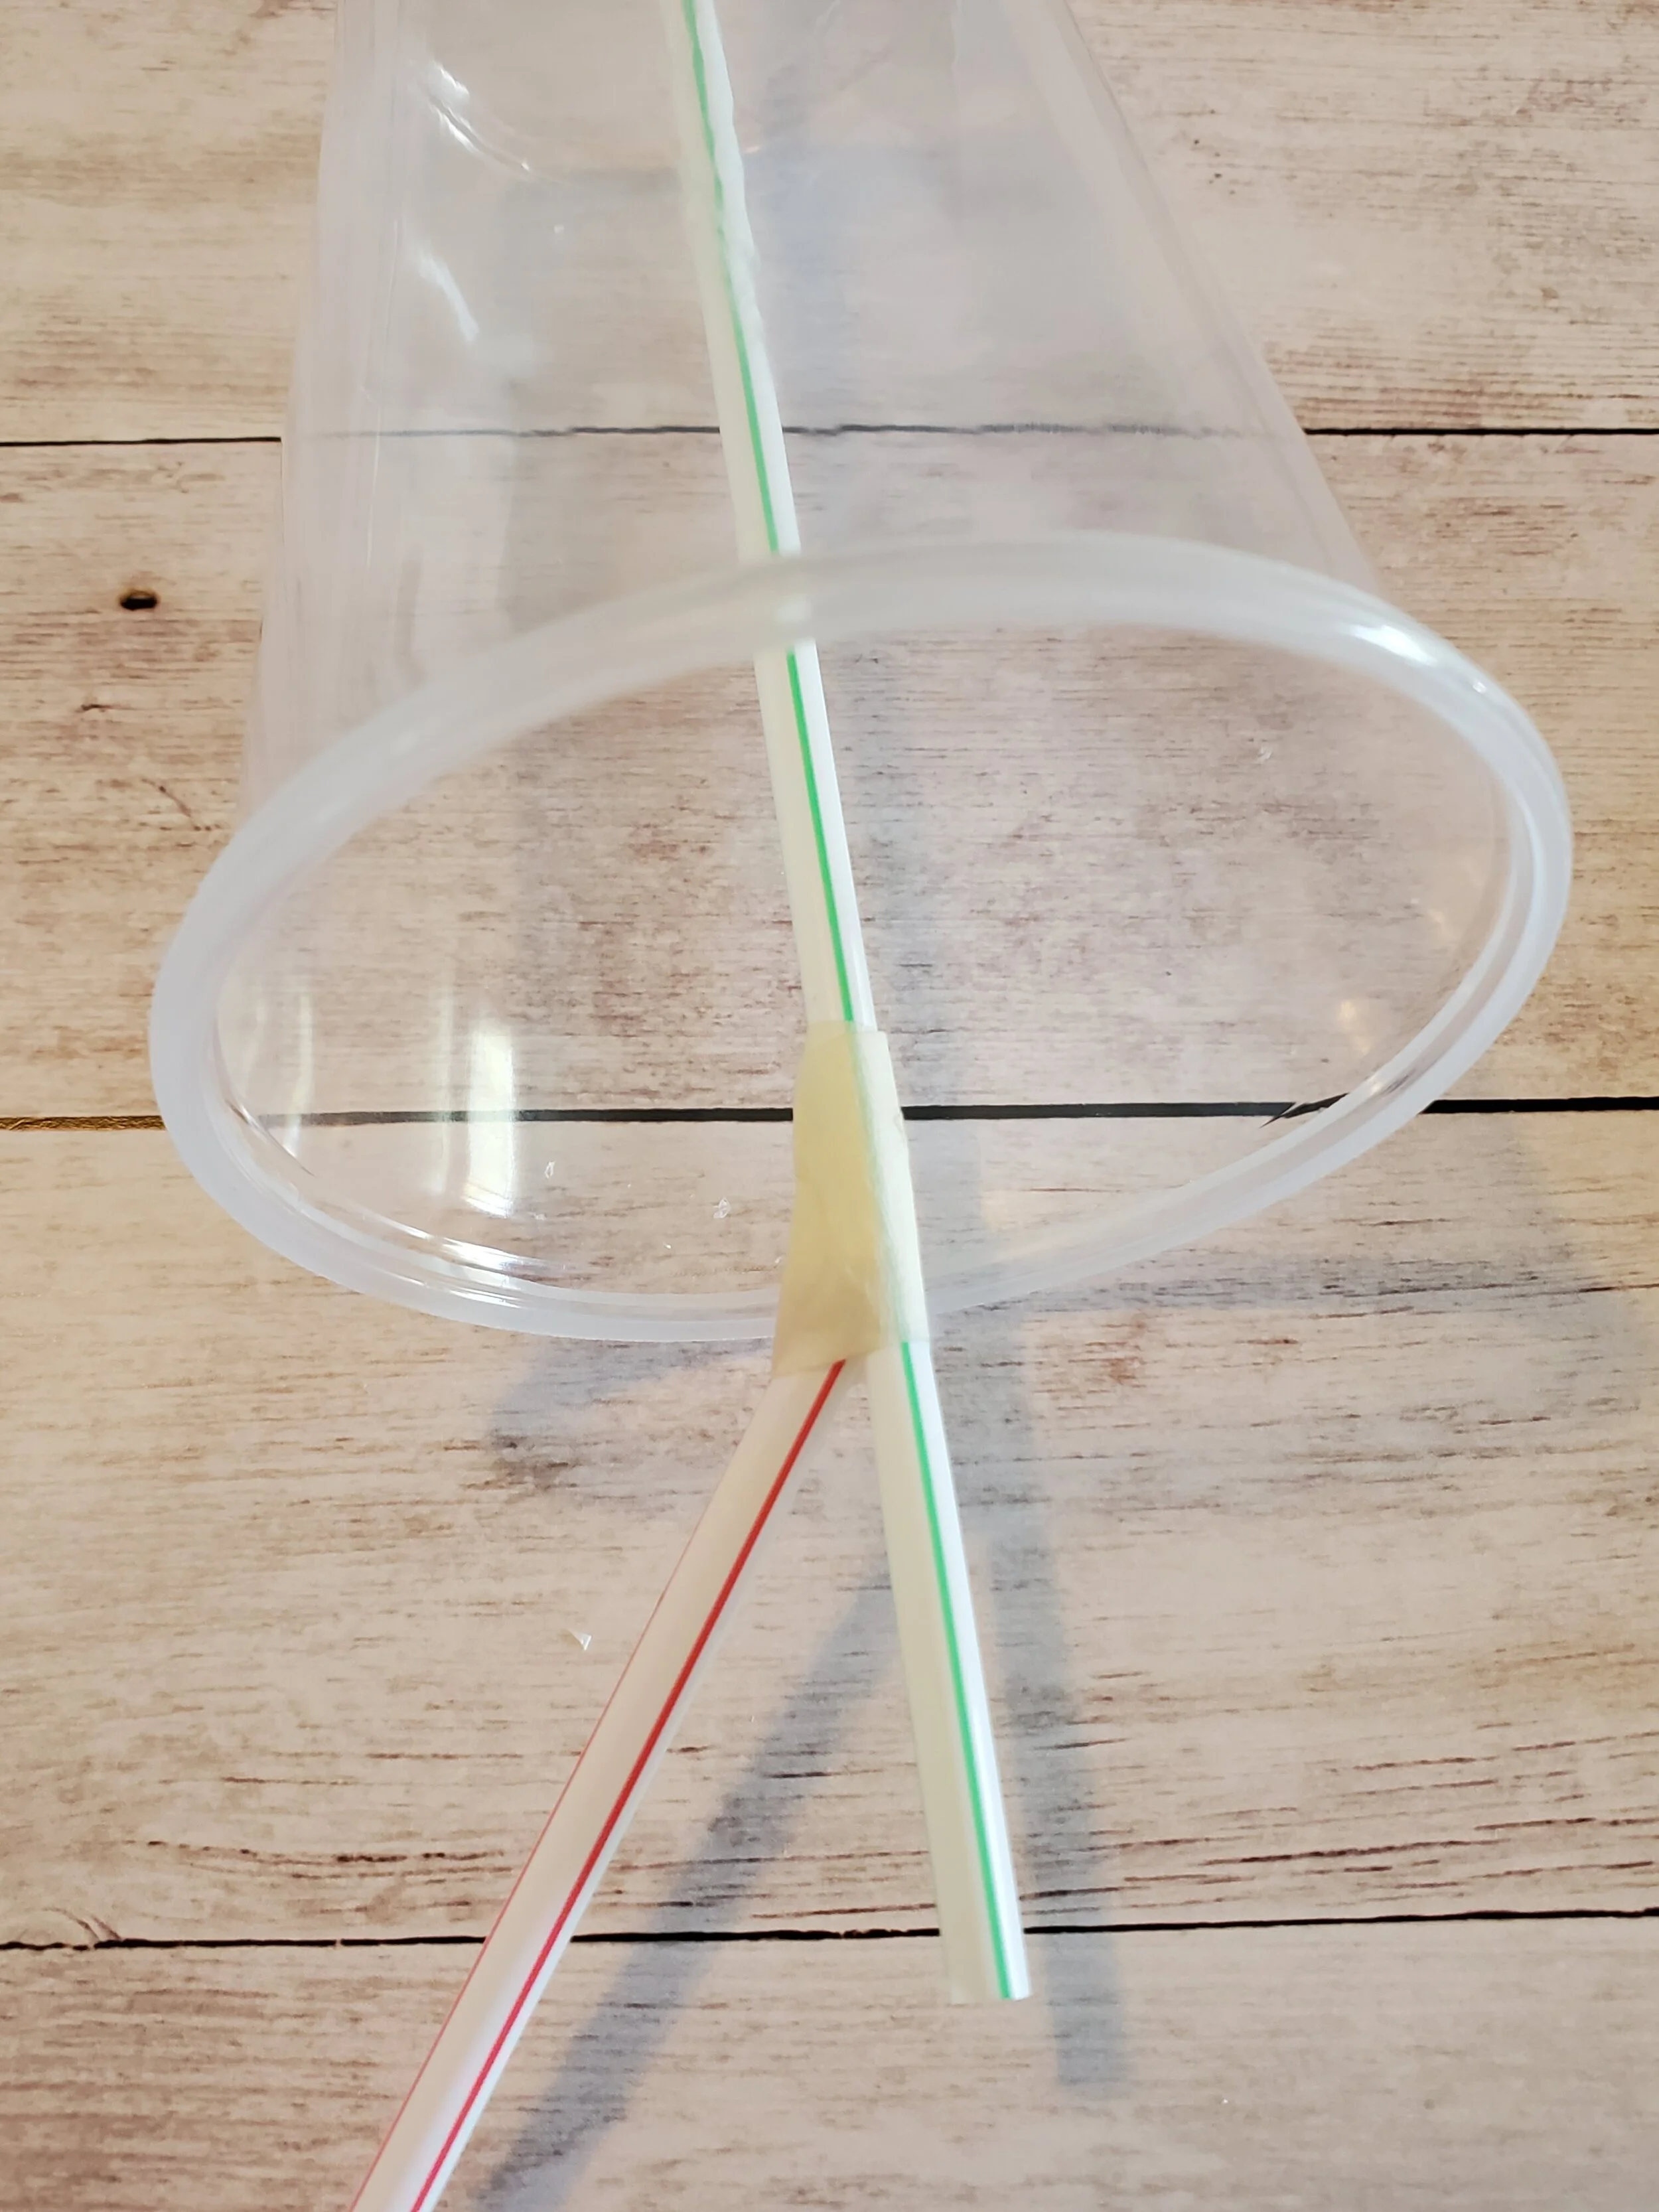
5. Use a small piece of tape to secure the straws
Wrap a small (about 2 inches) piece of masking tape around the two straws where they meet. This will help hold the straws in place and prevent leakage.
6. Cut the second straw so that the ends of the two straws are about the same length.
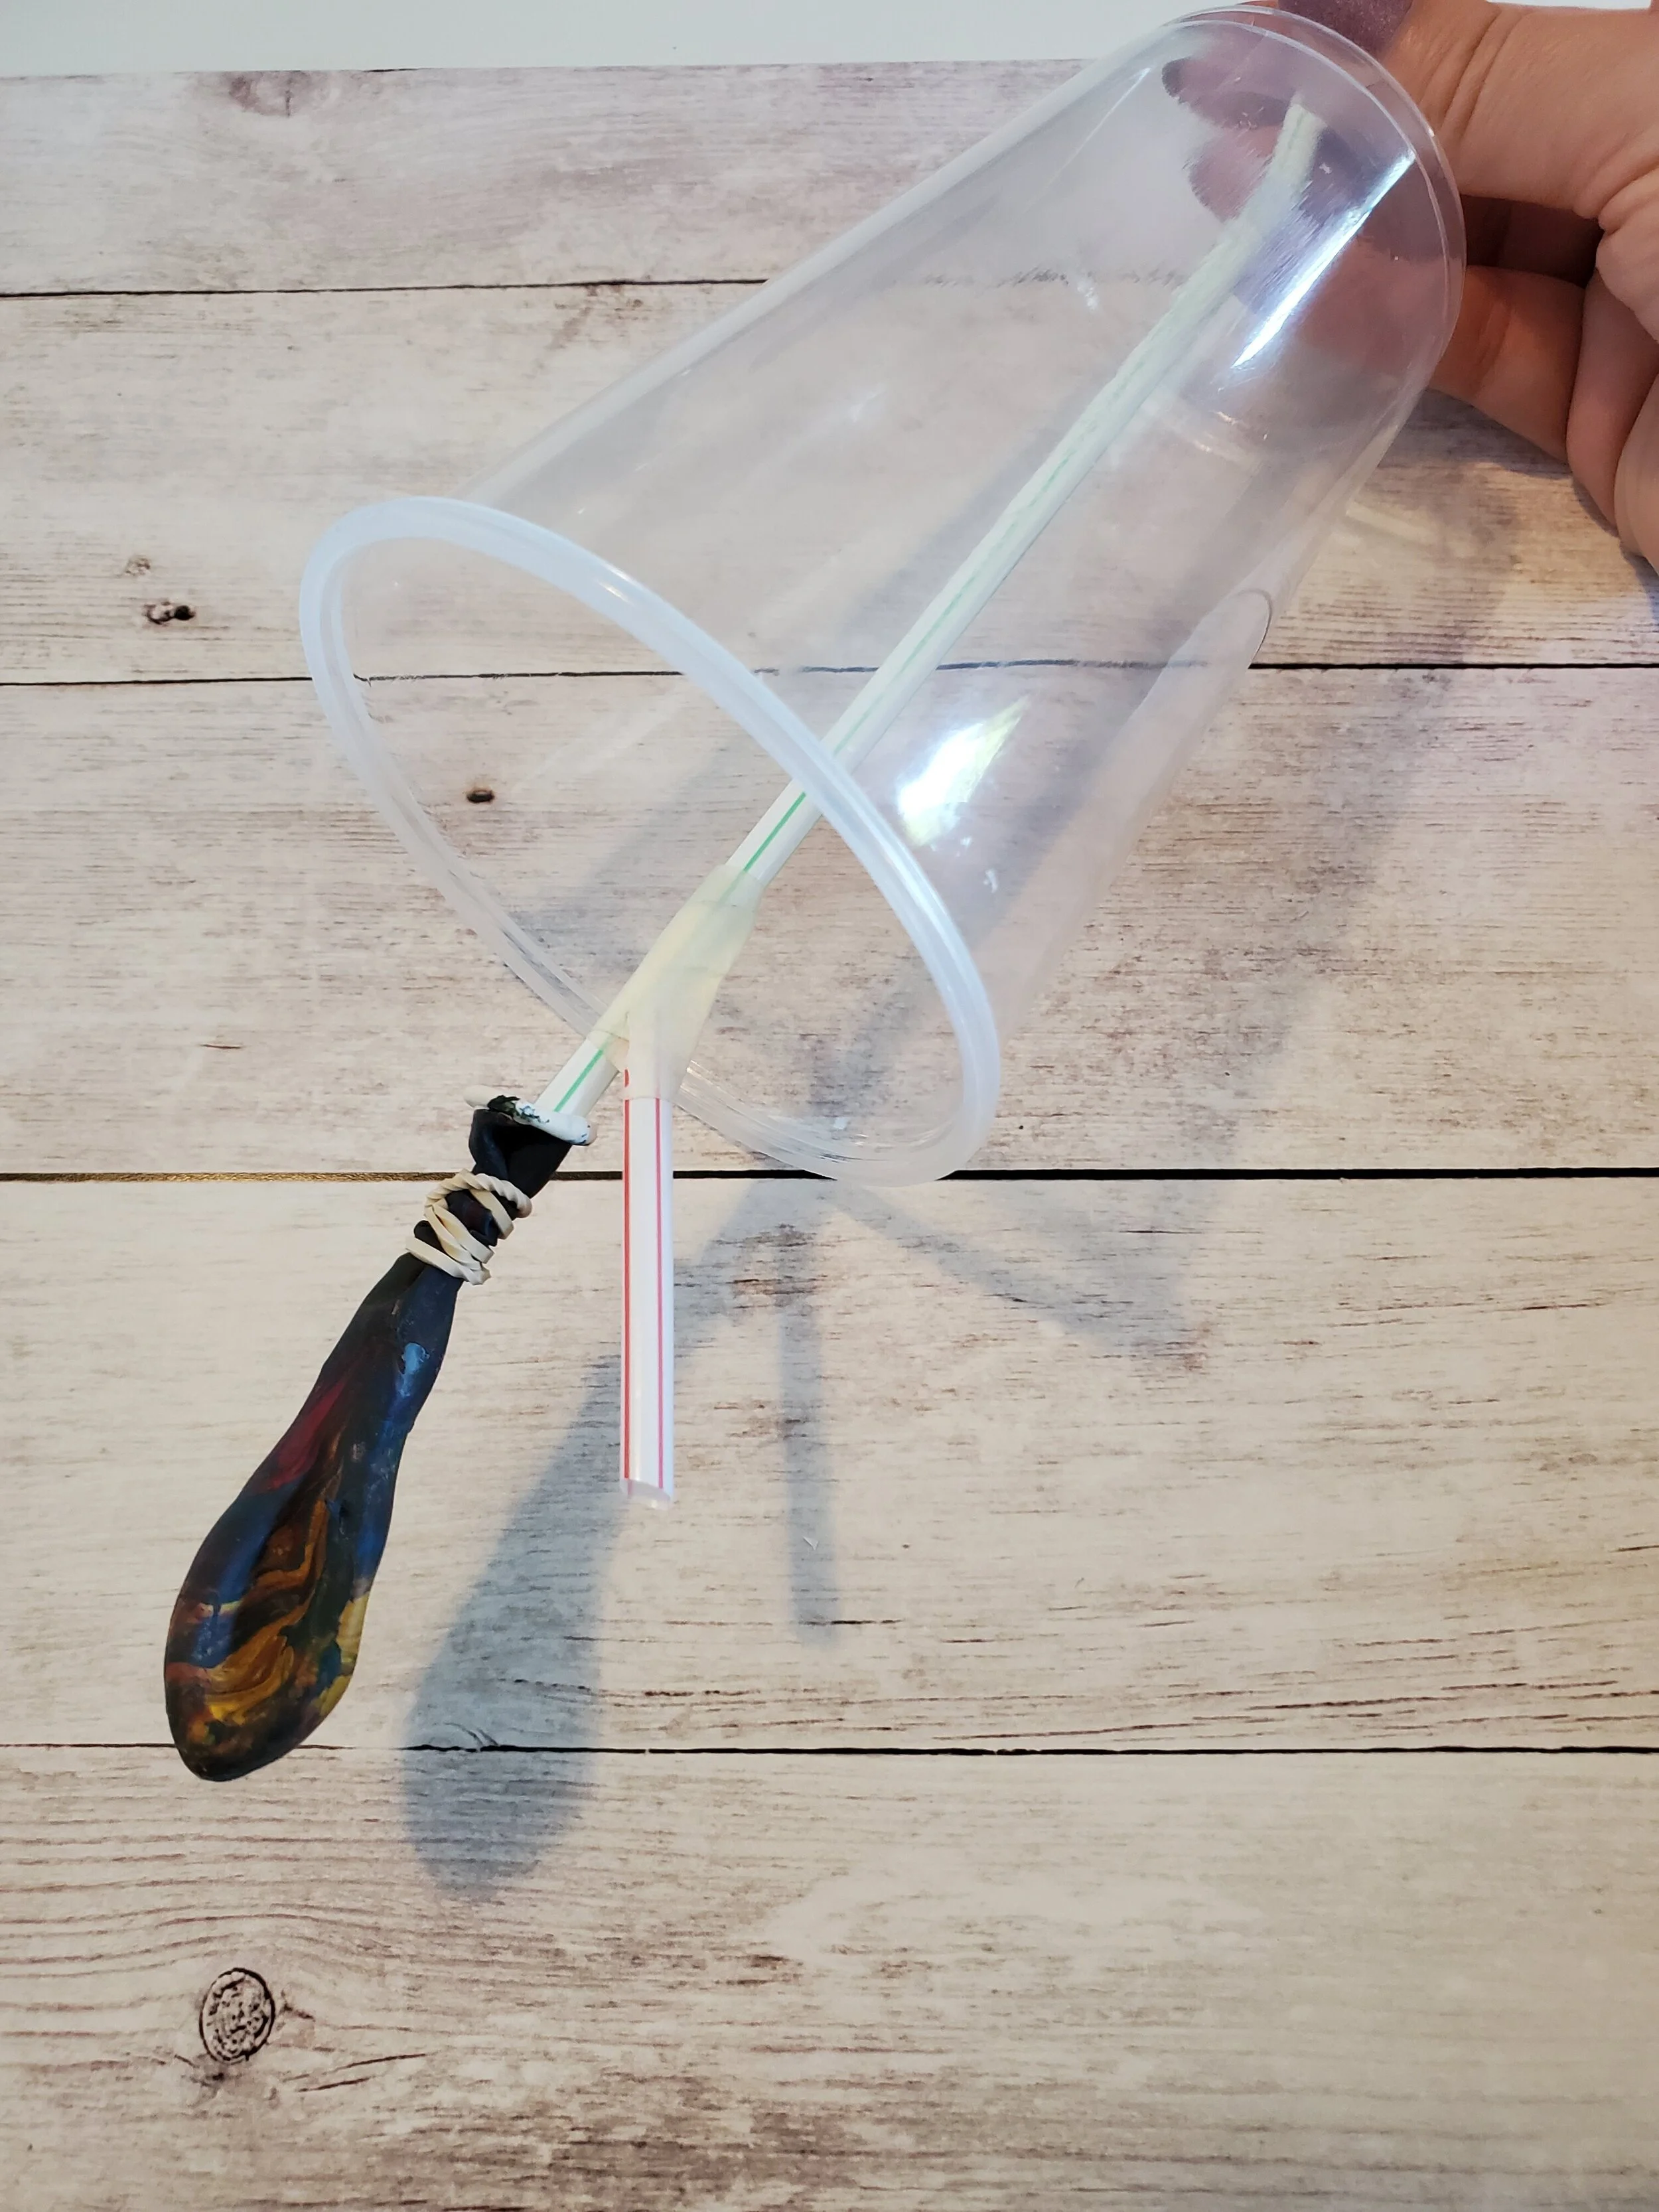
7. Attach one of the small balloons to one of the straws
Slide the balloon onto the straw then secure it by wrapping a small rubber band around it several times. The rubber band should be tight, but not so tight that the straw bends. Repeat this step with the second straw and balloon.
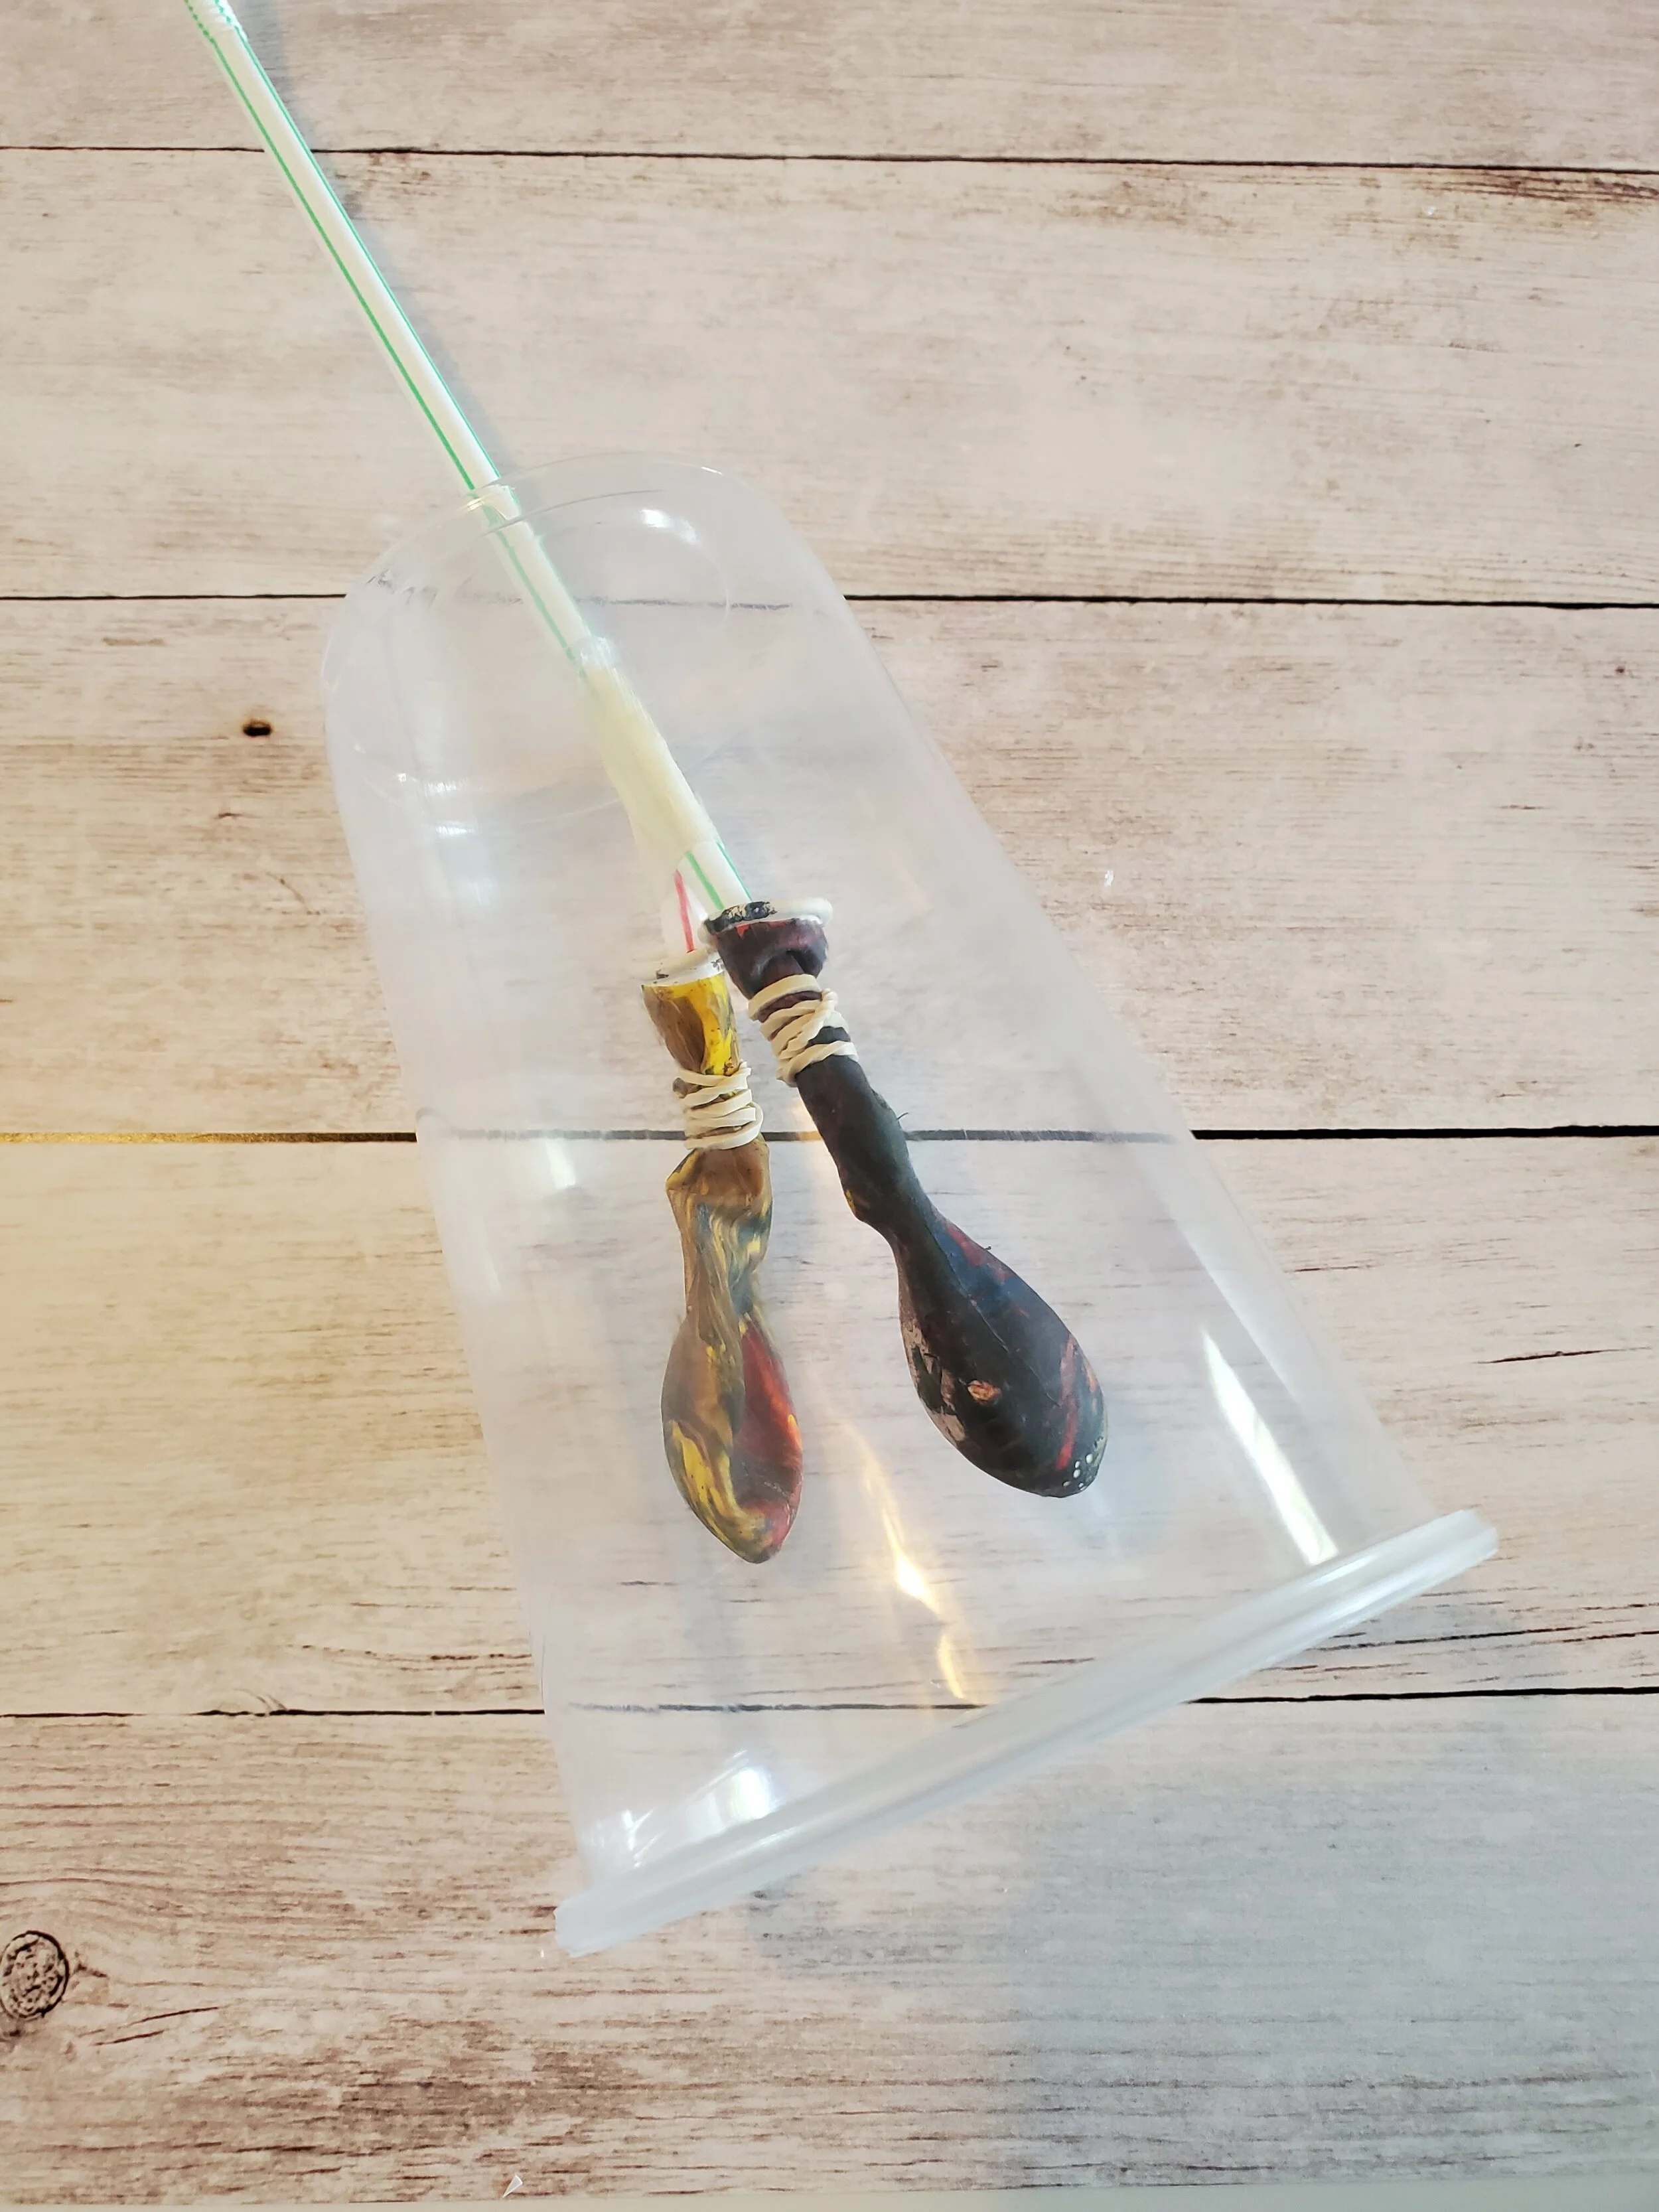
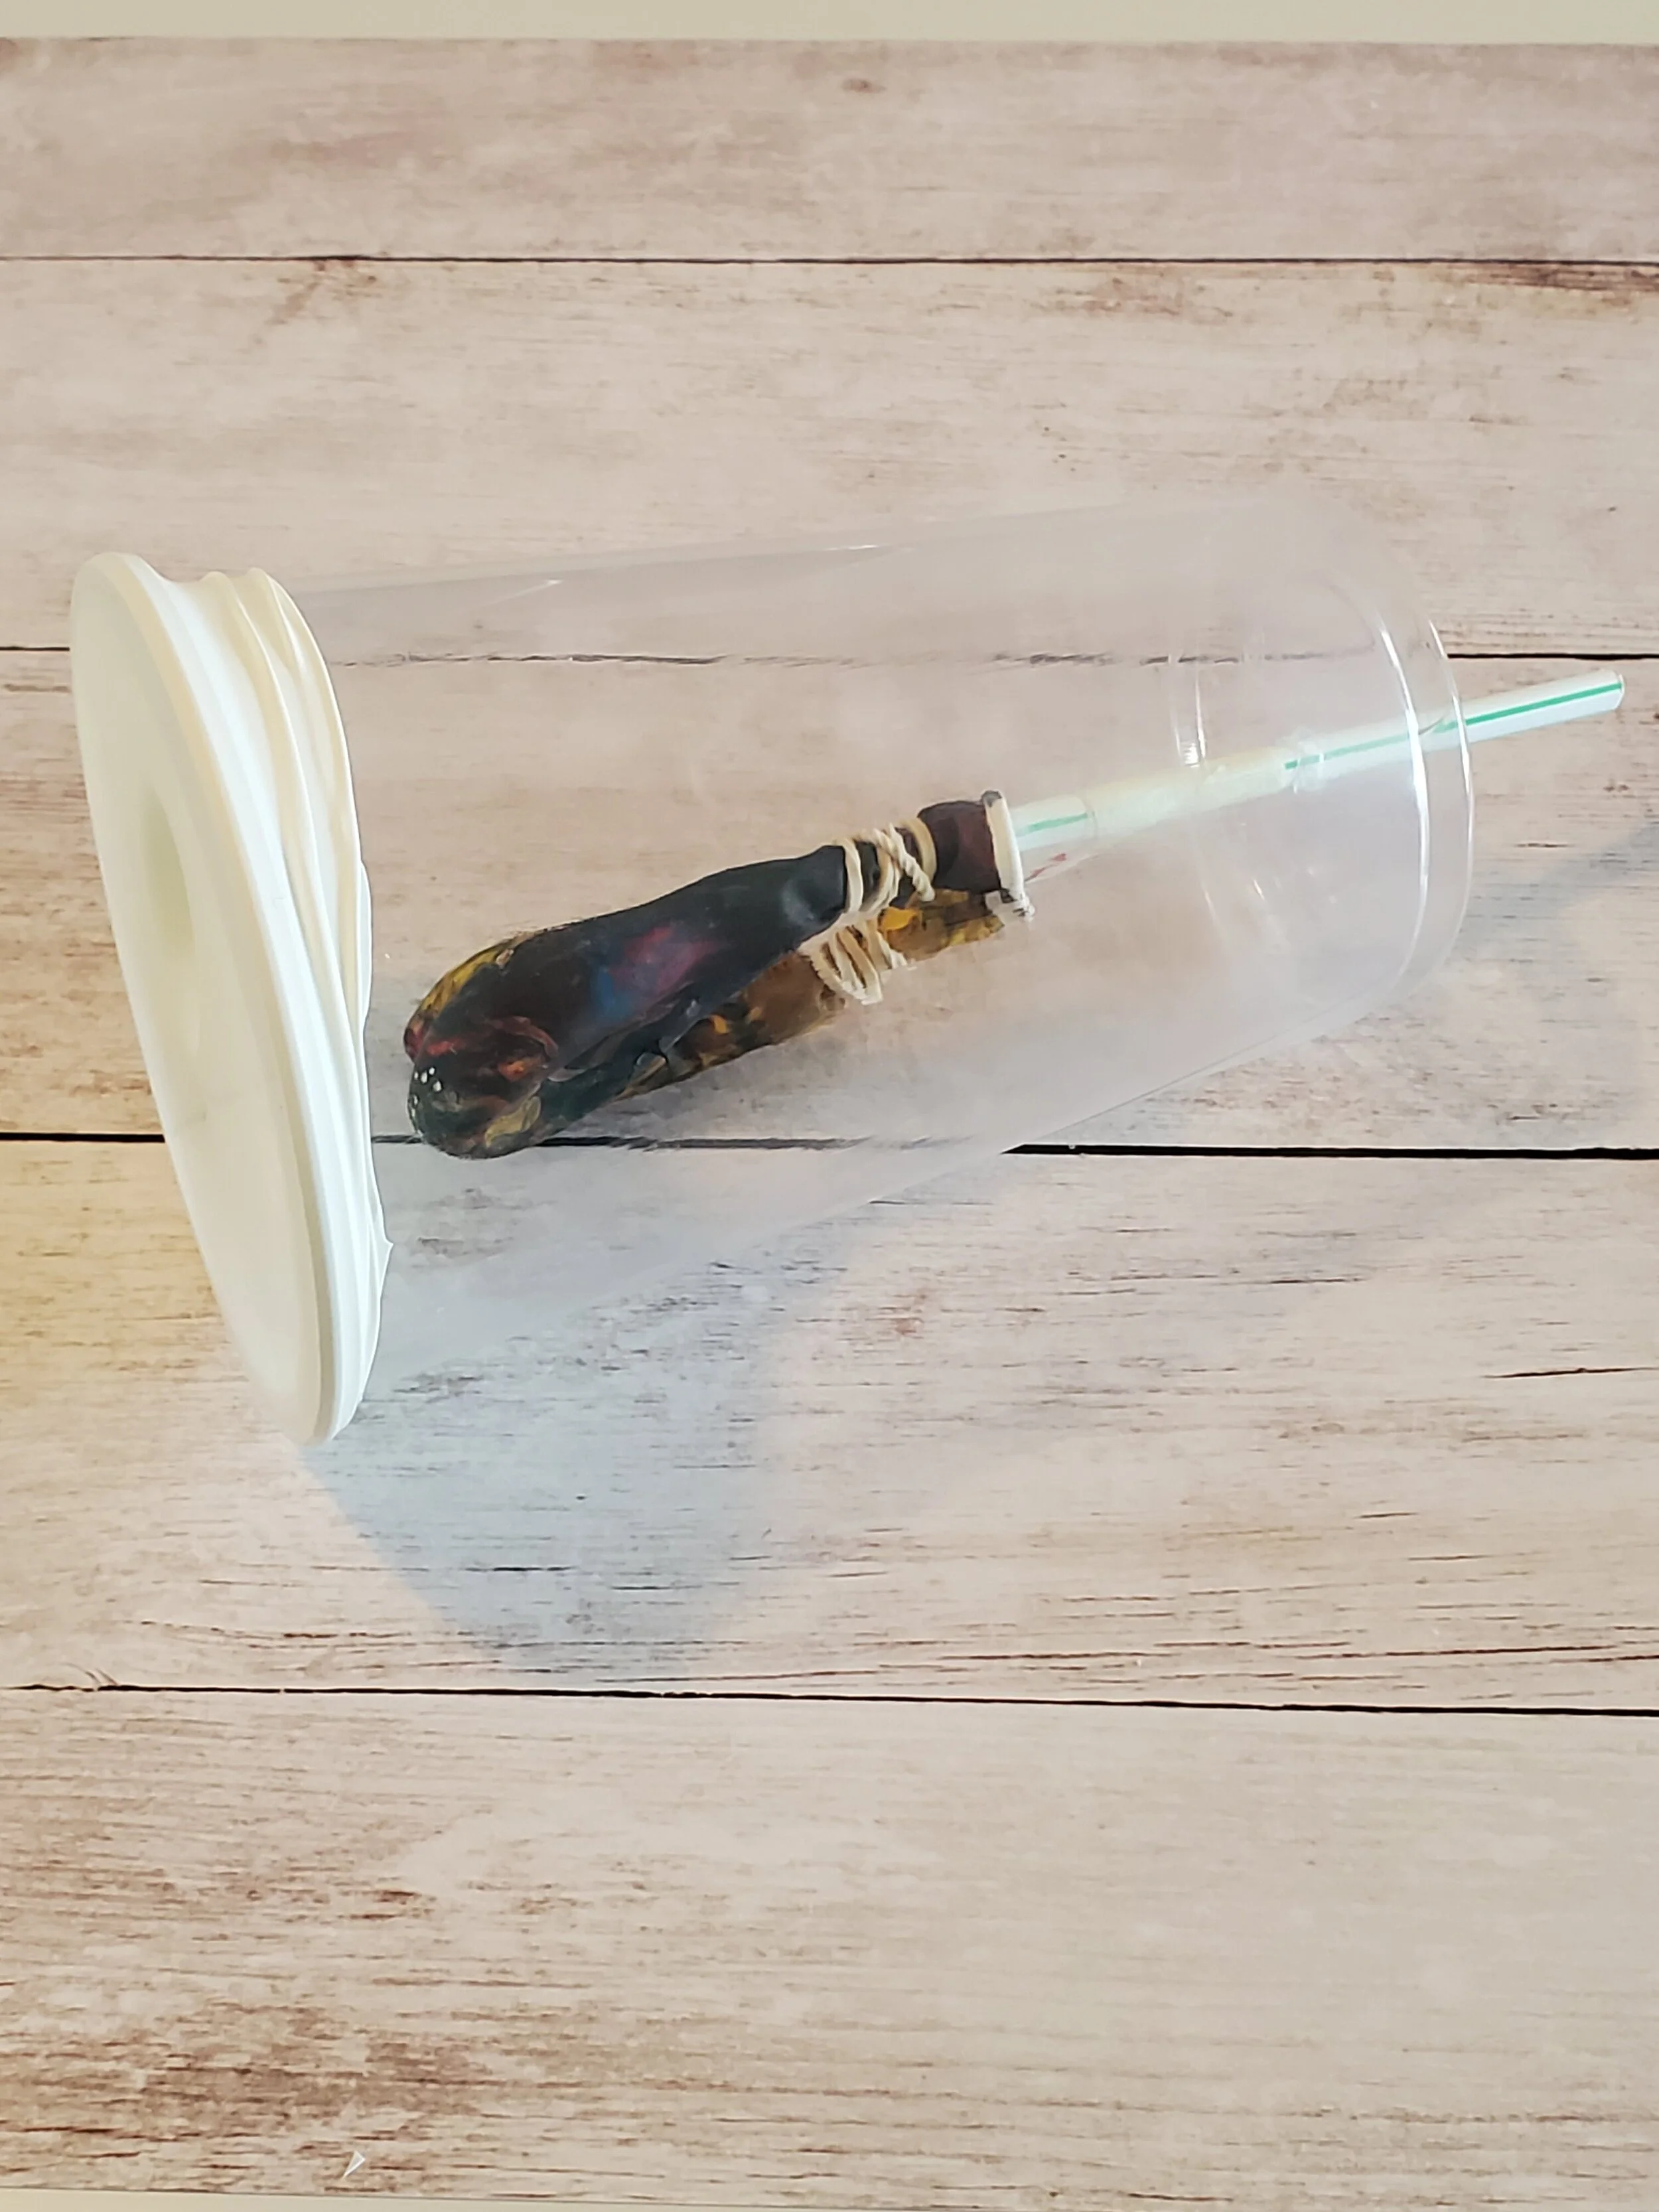
8. Pull the balloons into the cup
Once both balloons are attached, pull the main straw back up through the hole so that the two balloons are inside the cup. Cut the top of the straw so that only about 2 inches are sticking out past the hole. (*Caution- Be sure that everything is secure and held in place before making this cut. The model is much more difficult to work with from inside the cup!)
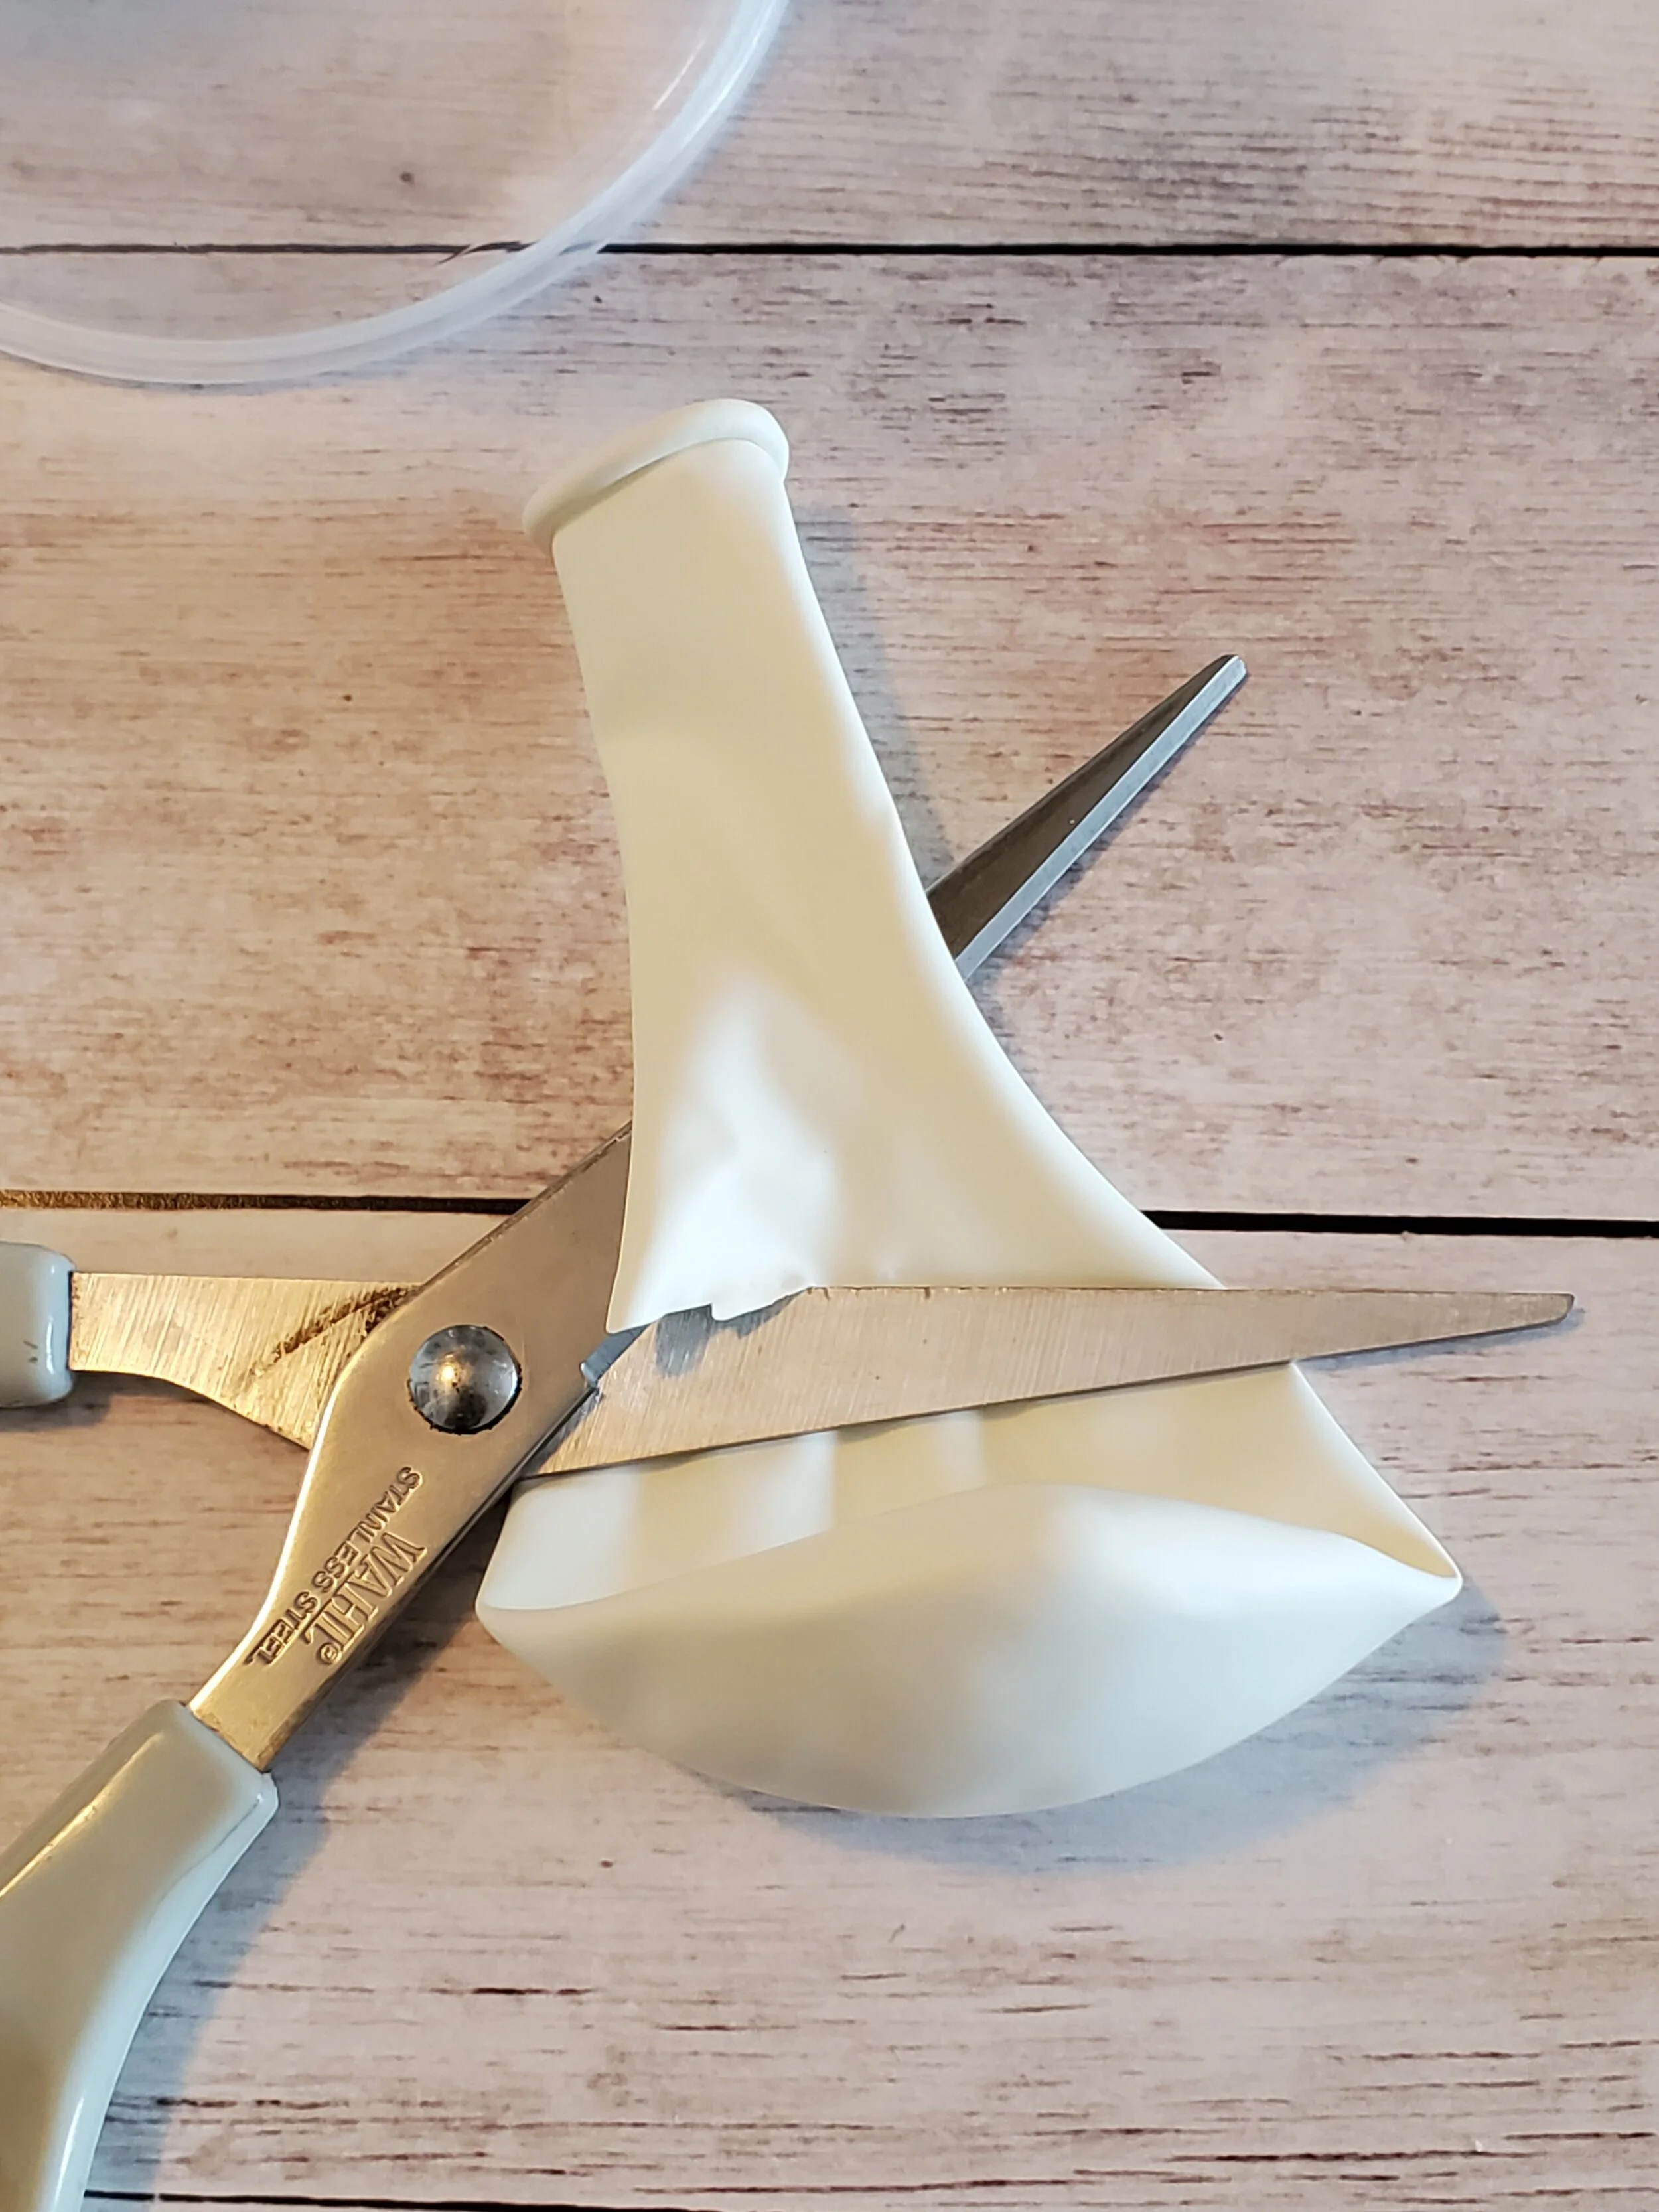
9. Make a cover for the cup
Cut the large balloon just below the area where the balloon starts to curve out (about 2 inches below the top).
Stretch out the balloon and fit it across the opening of your cup. Make sure it fits tightly across.
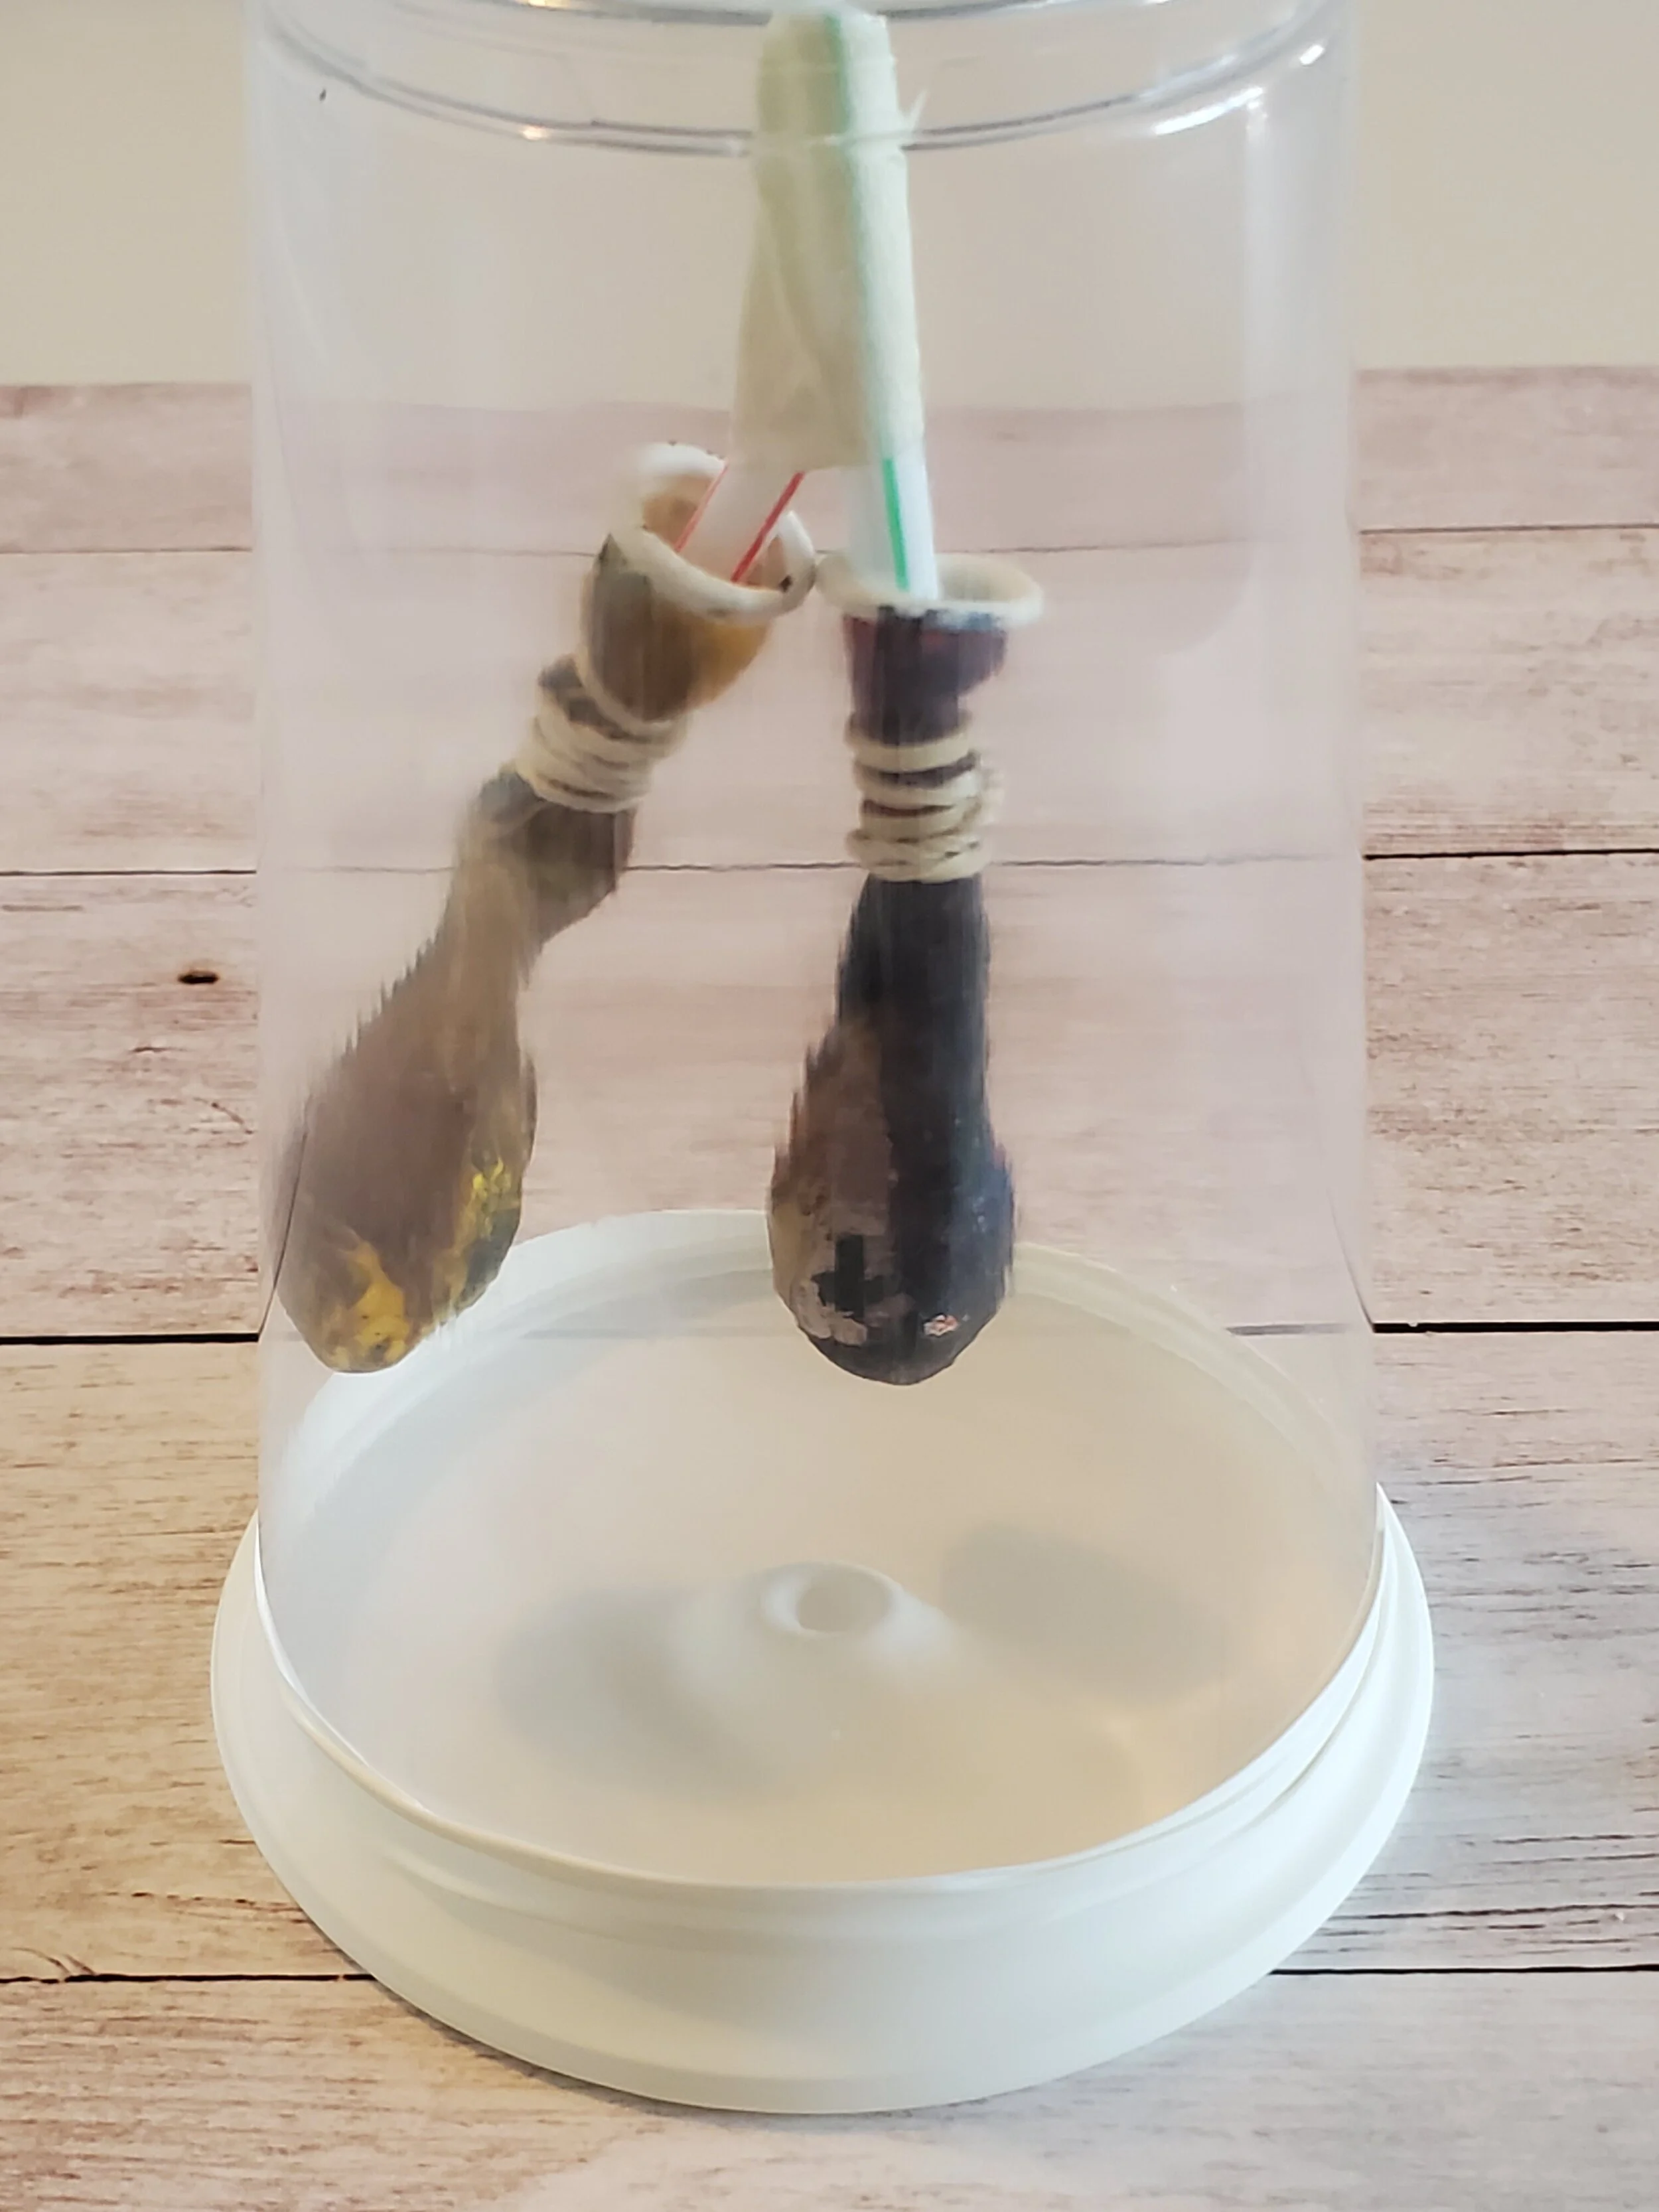
Your model is complete!
Can you tell what each of the parts represent in the respiratory system? (Hint- The masking tape and rubber bands are to secure the model. They do not actually represent organs in the system.)
To operate your lung model, gently pinch the center of the stretched balloon and pull it out, away from the cup, then push it back in, towards the inside of the cup. You should see the two smaller balloons inflate when you pull and deflate when you push.